How to Start
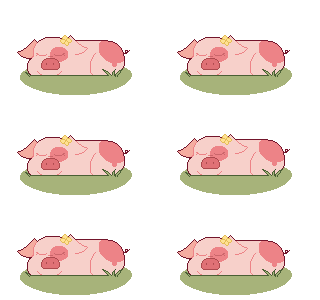
I'll be using my Sleeping Daisy animation as an example, as it only has a few layers, and I have the file with all the layers together.
I use Firealpaca for all my art, but you may use whatever program you like. With Firealpaca it's easier for beginning animators because it has a built-in Onion skin mode, which is key to see how your layers fit together. If you don't have Onion Skin mode as an option in your art program, fear not!
You can easily lower the opacity of your layers so you can see the one above and below.
Firealpaca also has an option to automatically export the layers. More on this later.
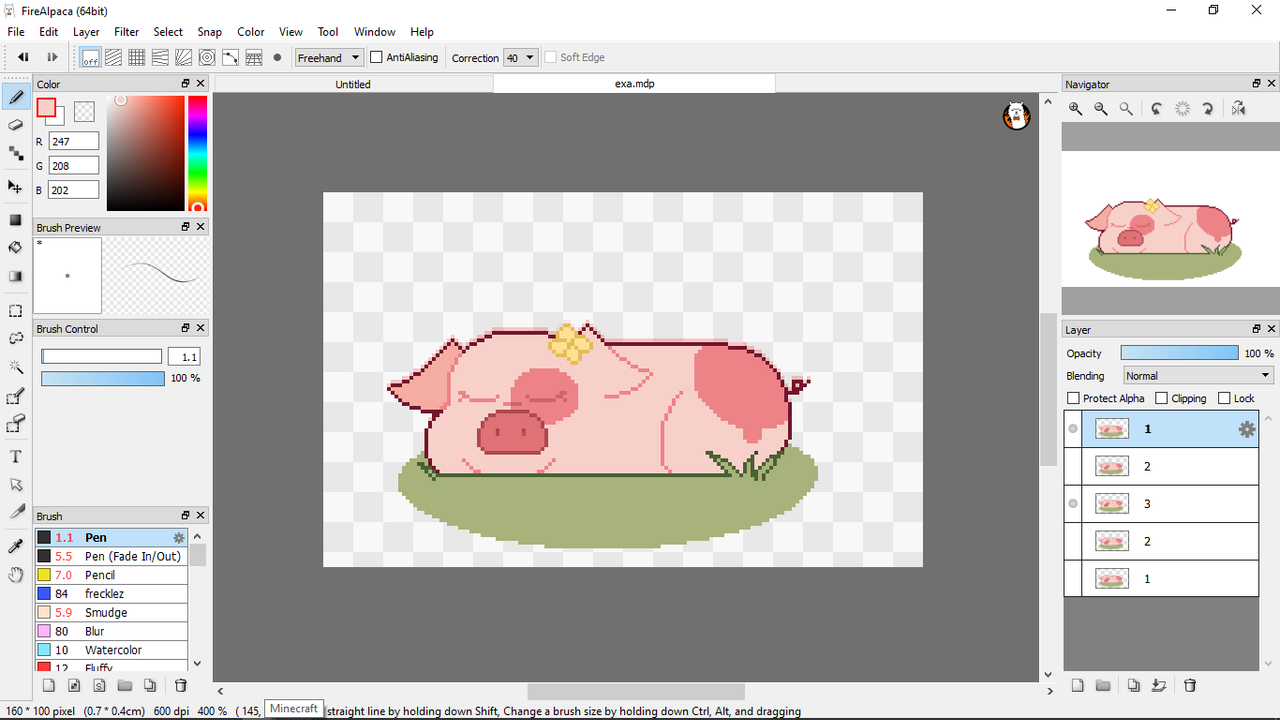
Since I'm doing a simple pixel animation, I'm just going to duplicate my layer. In a frame by frame, I would completely redraw it, giving it a much more organic look.
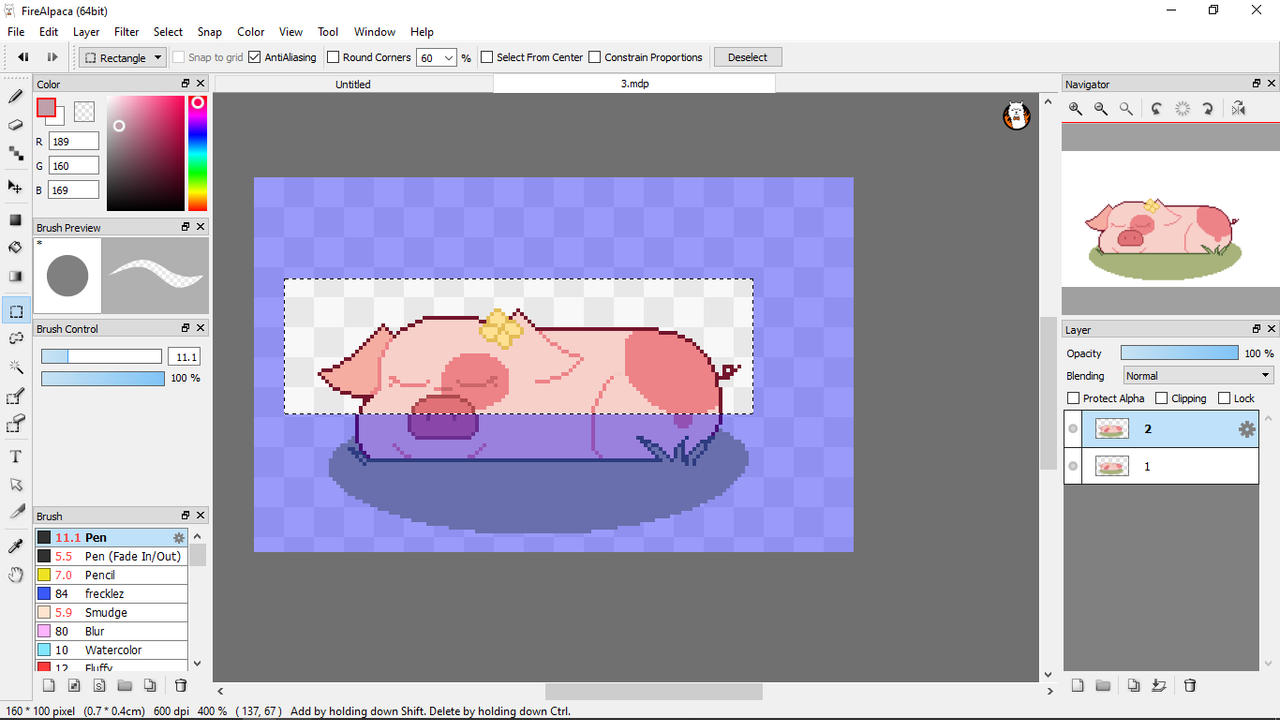
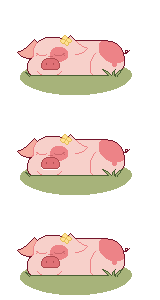
I'm going to select what I'm moving up, which includes her snout and spot. If I didn't include her snout and spot, the animation would look something like this.
While that's alright, it looks a bit unnatural. If the pig's spot and nose are part of her body, wouldn't they move up with it?
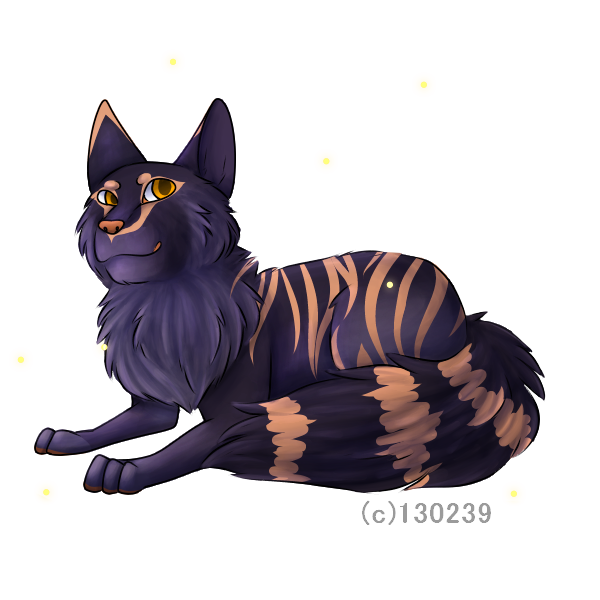
(*This is the main error I made with Shiro's character. It was my first tail-flick, and I didn't redraw the stripes every time, causing it to look unnatural and odd. By the time I noticed, I had already drawn the other frames and merged them*)
Next, I just dragged those layers up by one pixel. I turn off Onion skin mode during this, but you may do as you like.
But what's this?
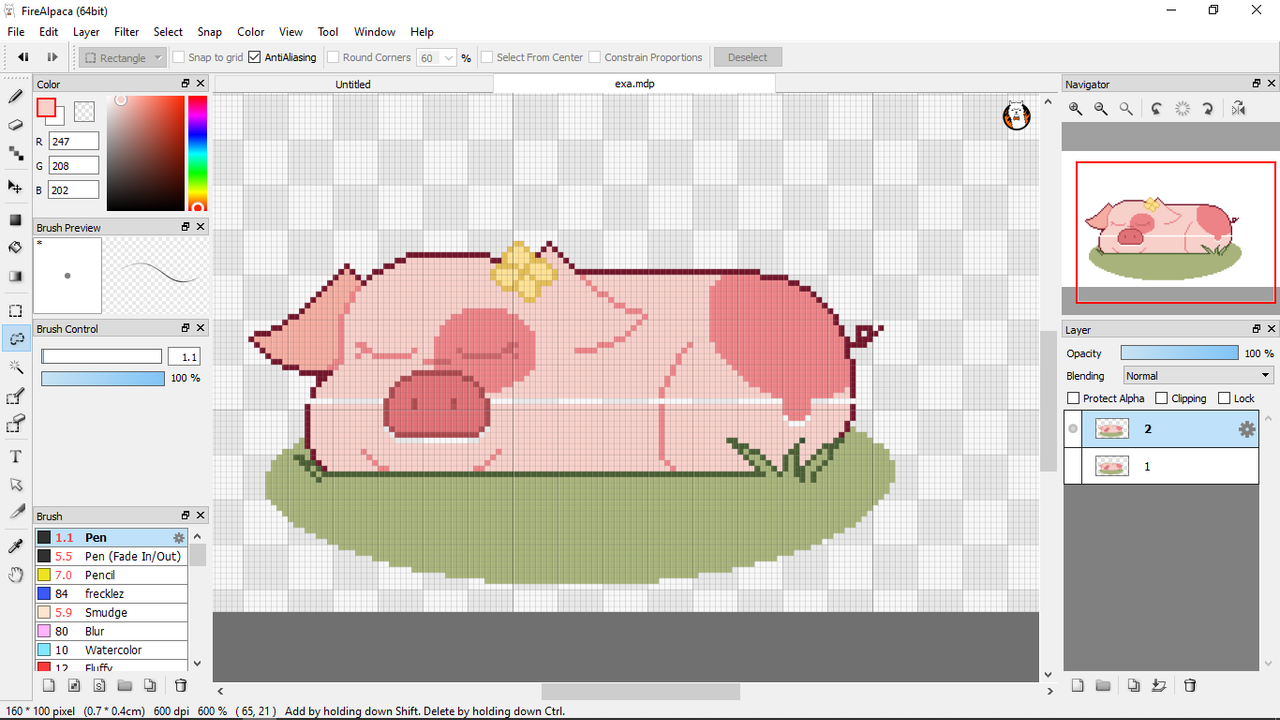
There are transparent pixels in the frame! No worries, just fill them up.
I repeat this one more time, going up by only one pixel.
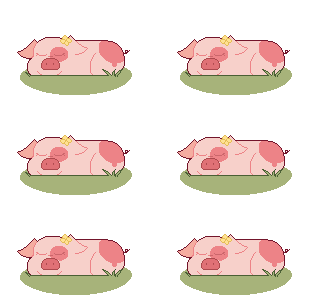
Right now the animation looks like this.
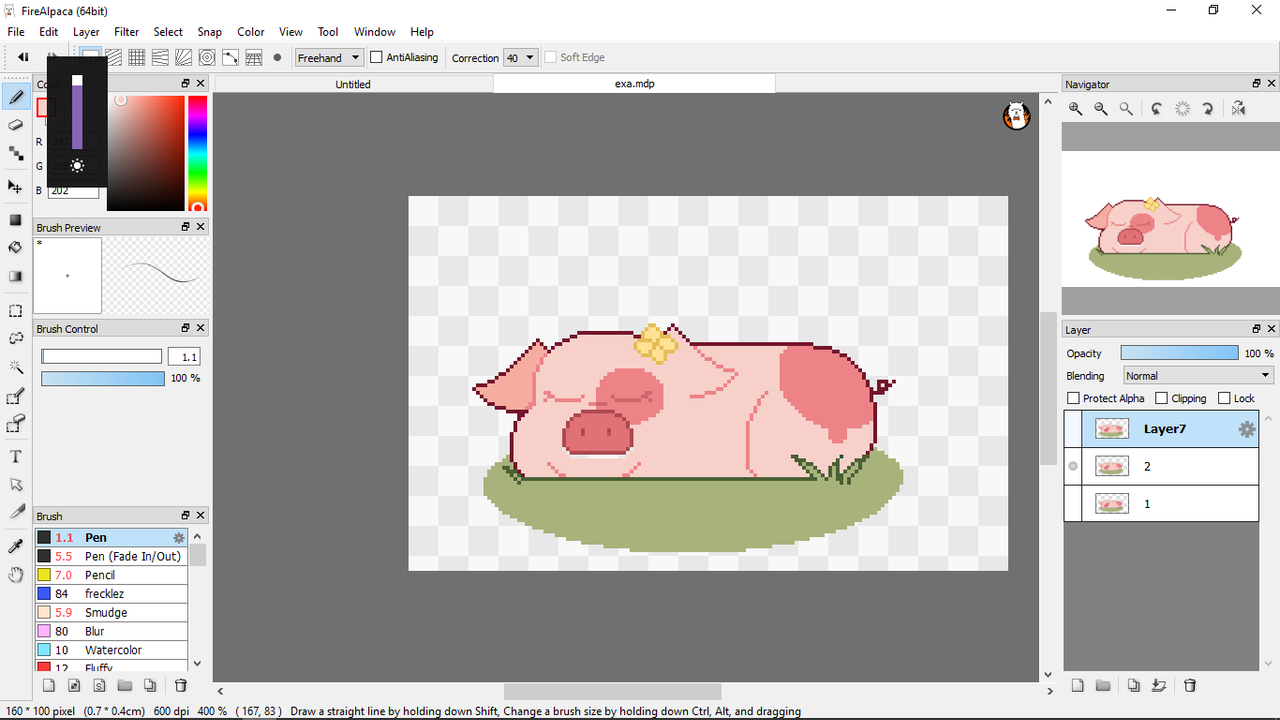
See how I named each layer? I duplicate layer 1 and 2 and place them behind layer 3.
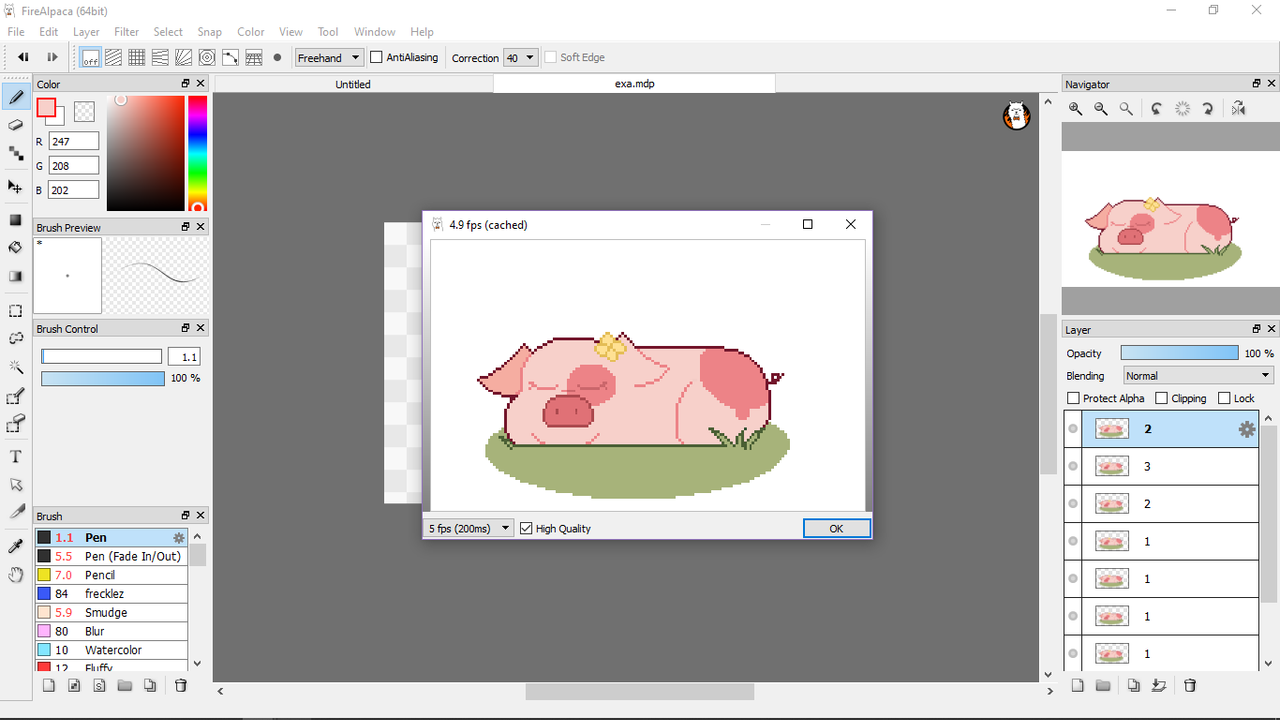
In Firealpaca, you can see how the animation looks at any given time with autoplay.
The animation goes a bit fast for my taste, so I duplicate 1 several times to give time between breaths.
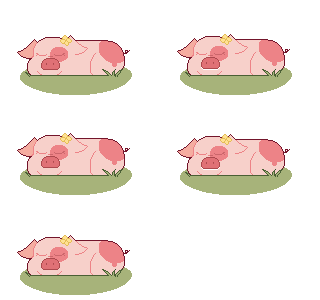
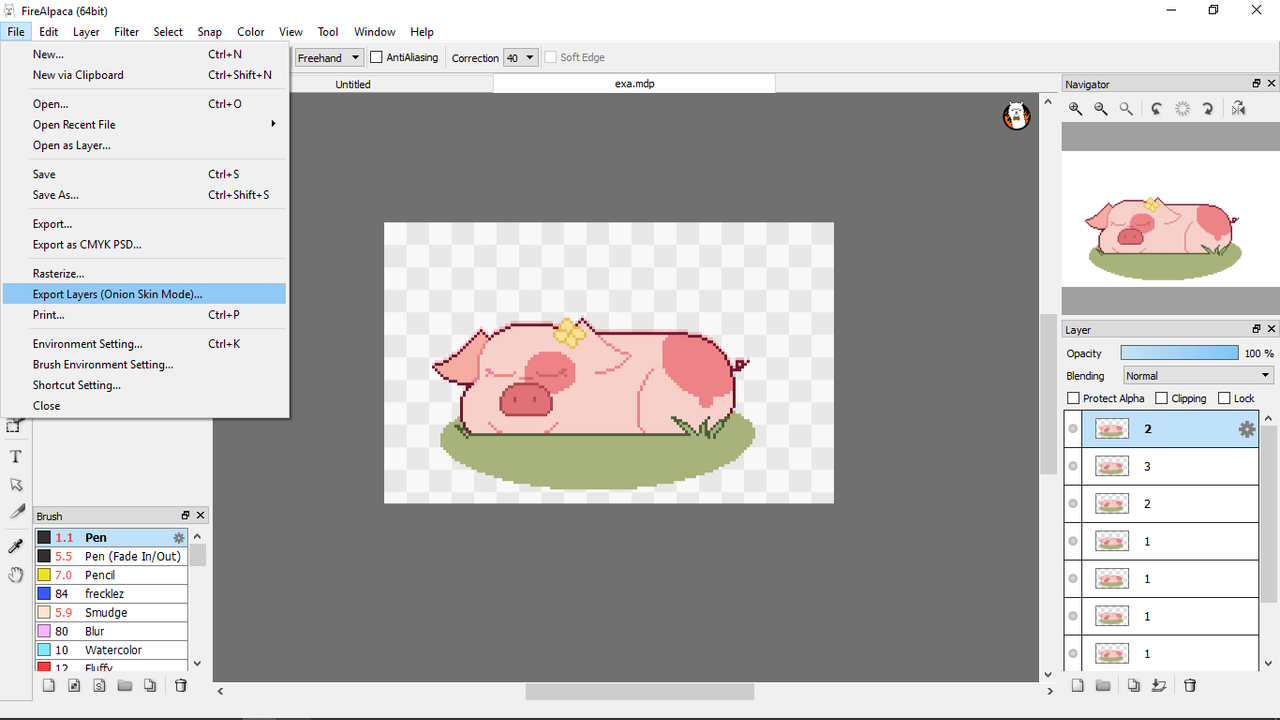
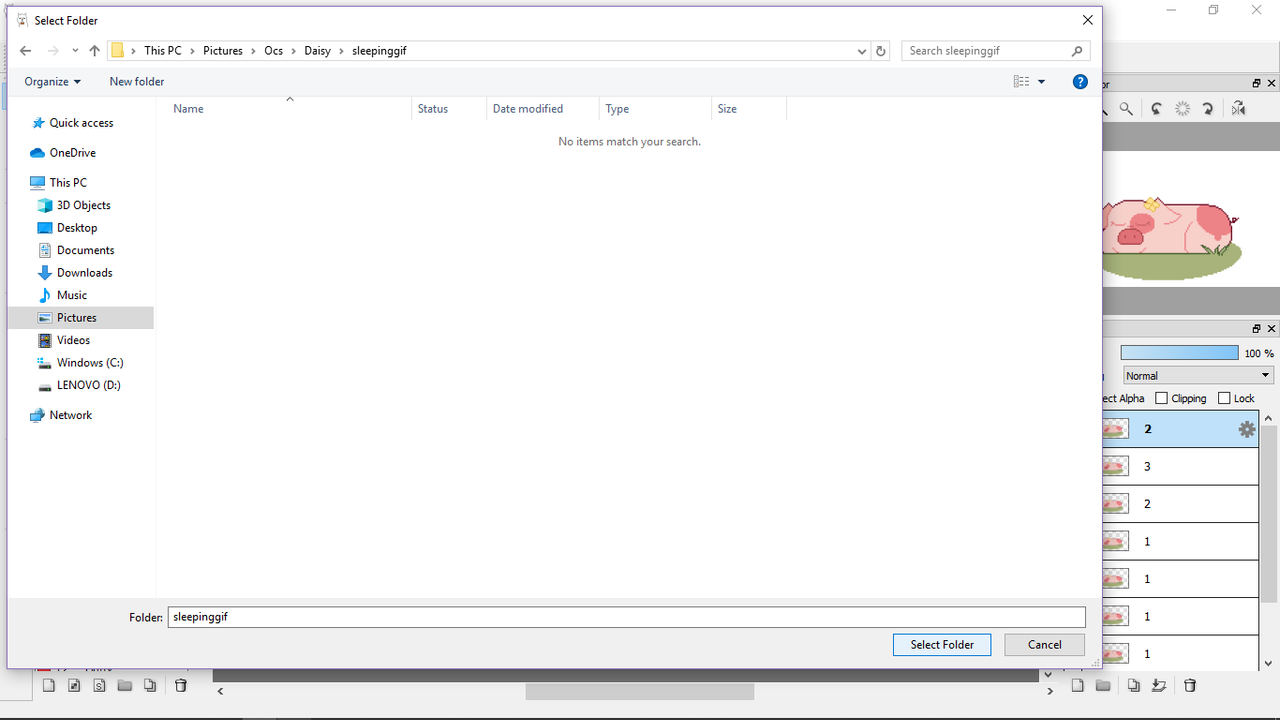
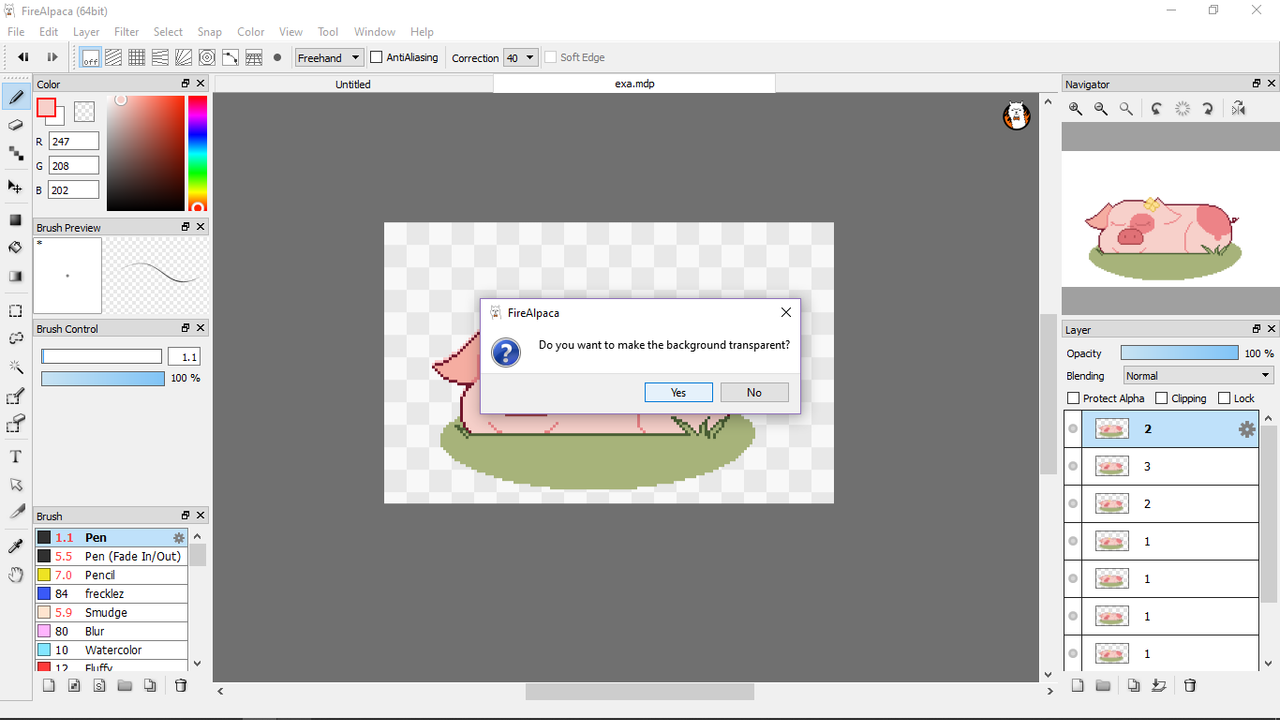
Now time to export! In Firealpaca, you can export layers with Onion Skin mode. This automatically saves every frame and names it in order. You select a folder. I always save with a transparent background, though you may do what you like.
When putting together the animations I use Alpaca Douga, which is what goes free with Firealpaca. It has great quality, and you can even resize things! I find this very useful as I draw on a larger canvas, ex 600x600, but can choose 50% and get a 300x300 for an avatar. You can also choose the speed, and add frames as you go along The downsides are you can have 64 frames max, and it automatically gives it a white background.
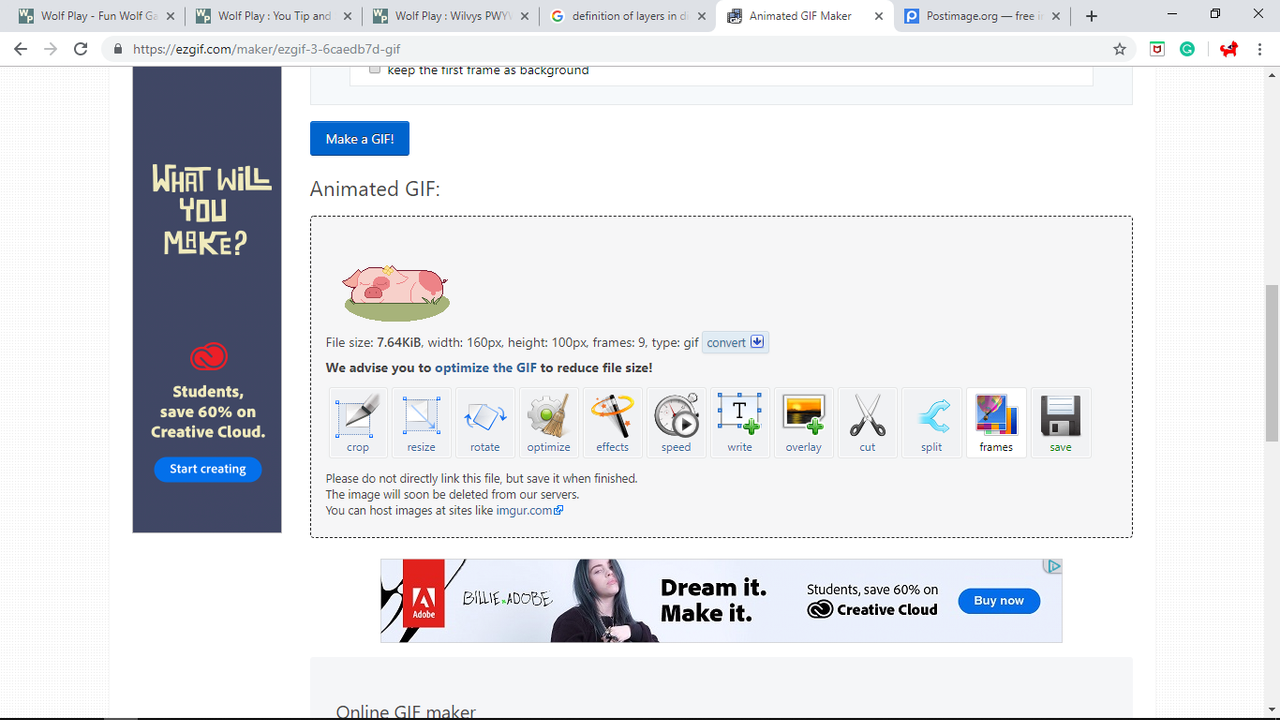
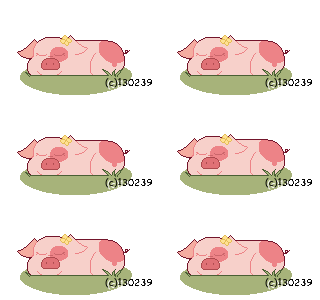
For this, I used Ezgif because I wanted a transparent background, as I use this animation in my bio.
Now I have my animation! Ezgif is free as well, but it has horrible quality. I usually wouldn't use it, as it eats up details, but because this was pixel art it was alright. I set the speed to roughly 5 layers per second.
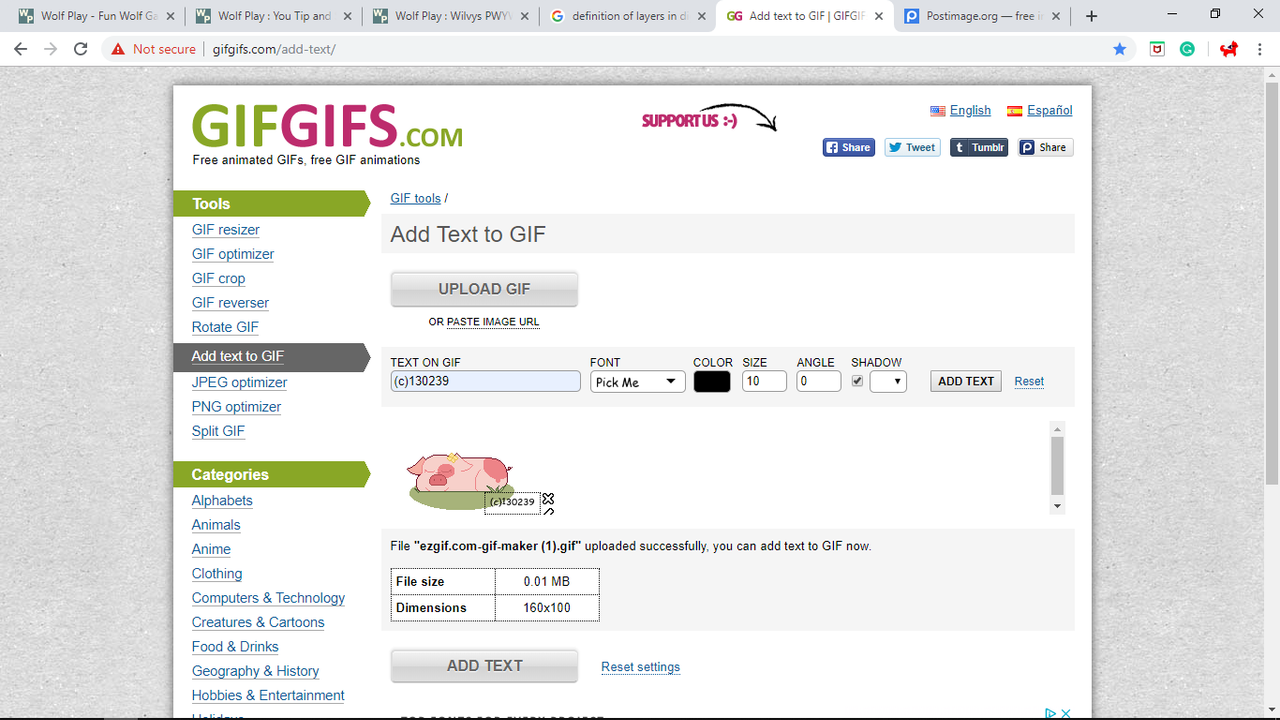
But wait! Wolfplay makes you credit your art, so we're not done yet! I use gifgifs to add credits to my gifs. This is a lot easier than writing your pack number on every frame. The one thing is it does bring down quality quite a bit with larger and complexly shaded pieces.
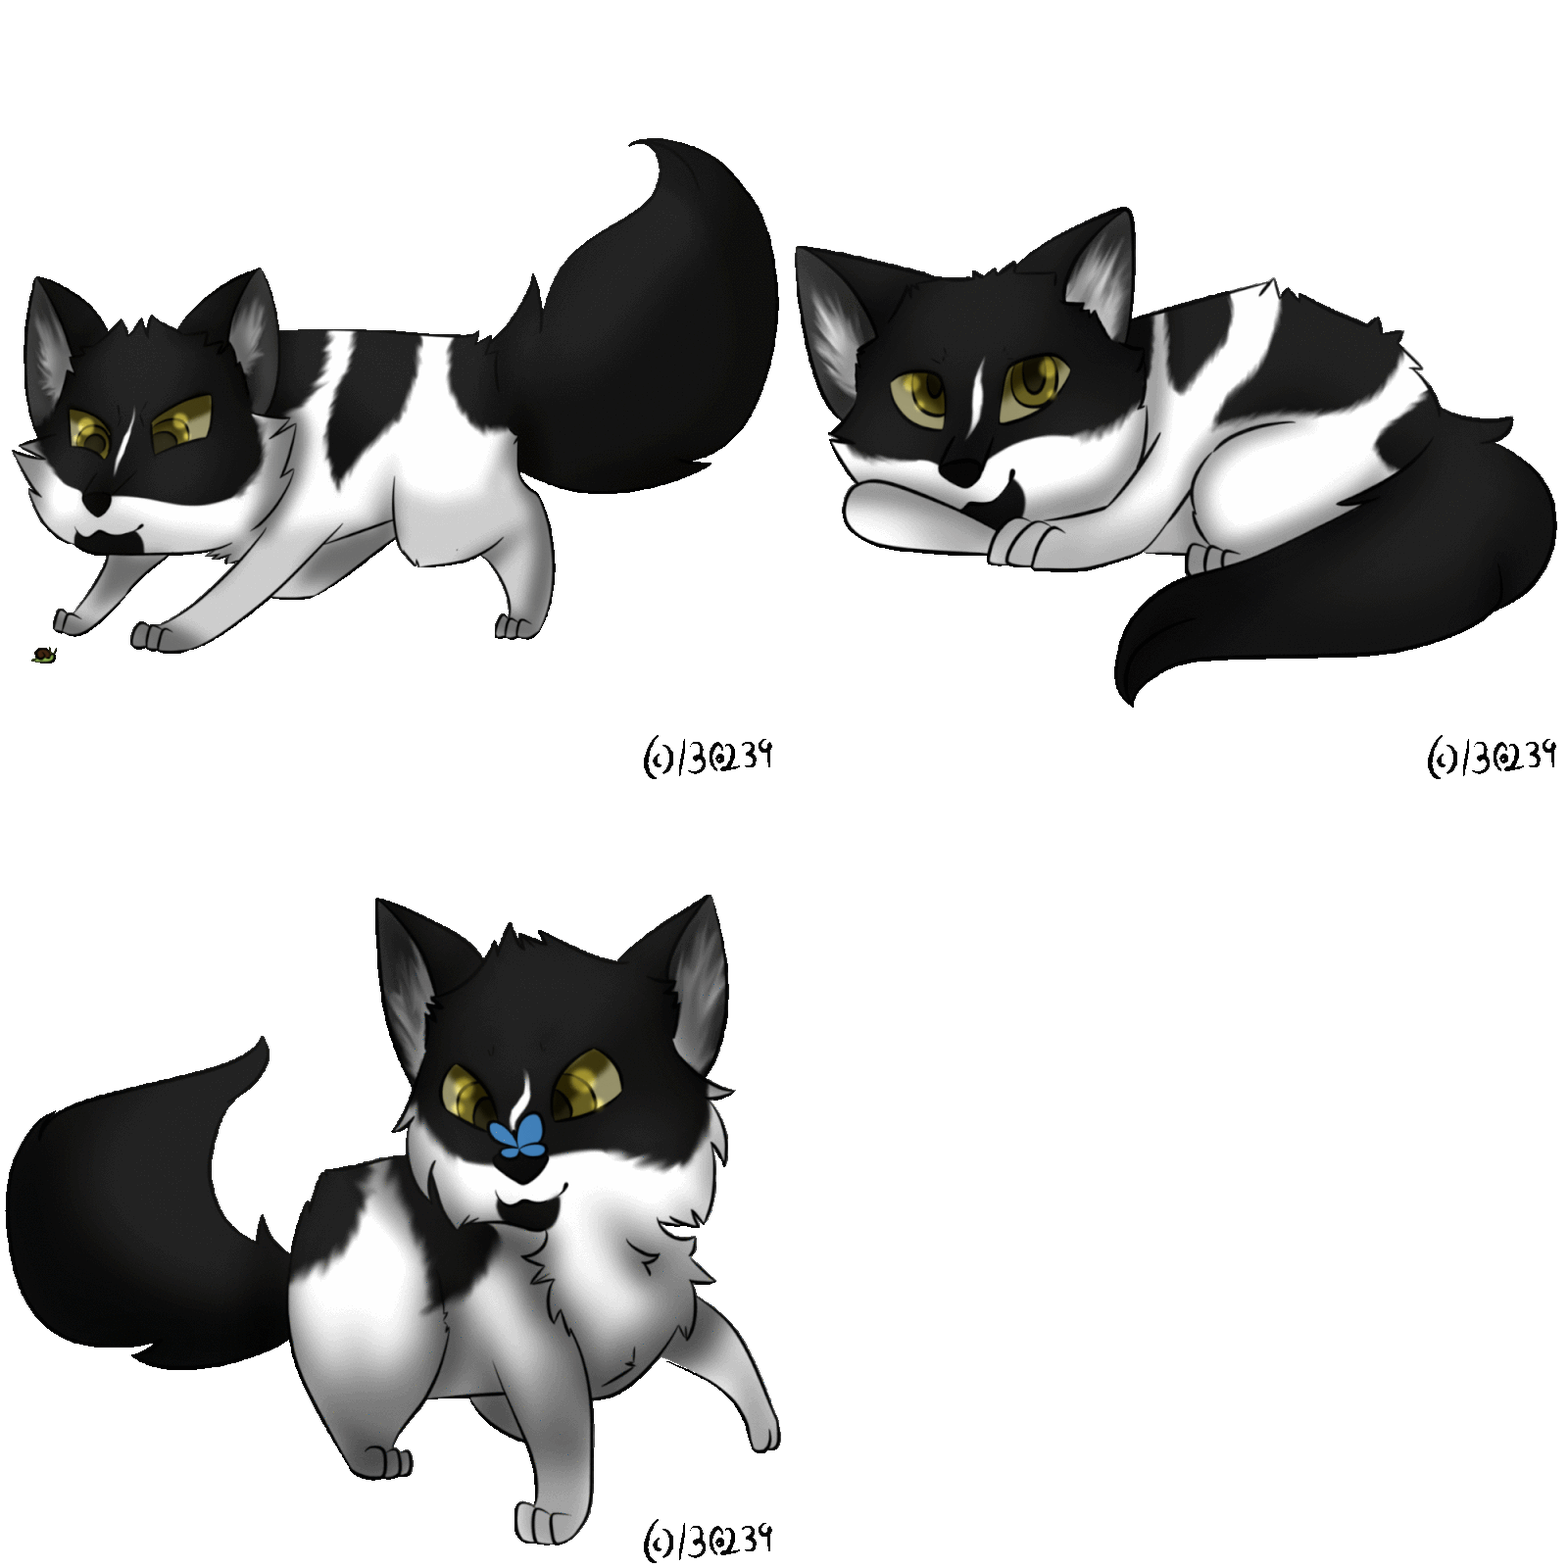
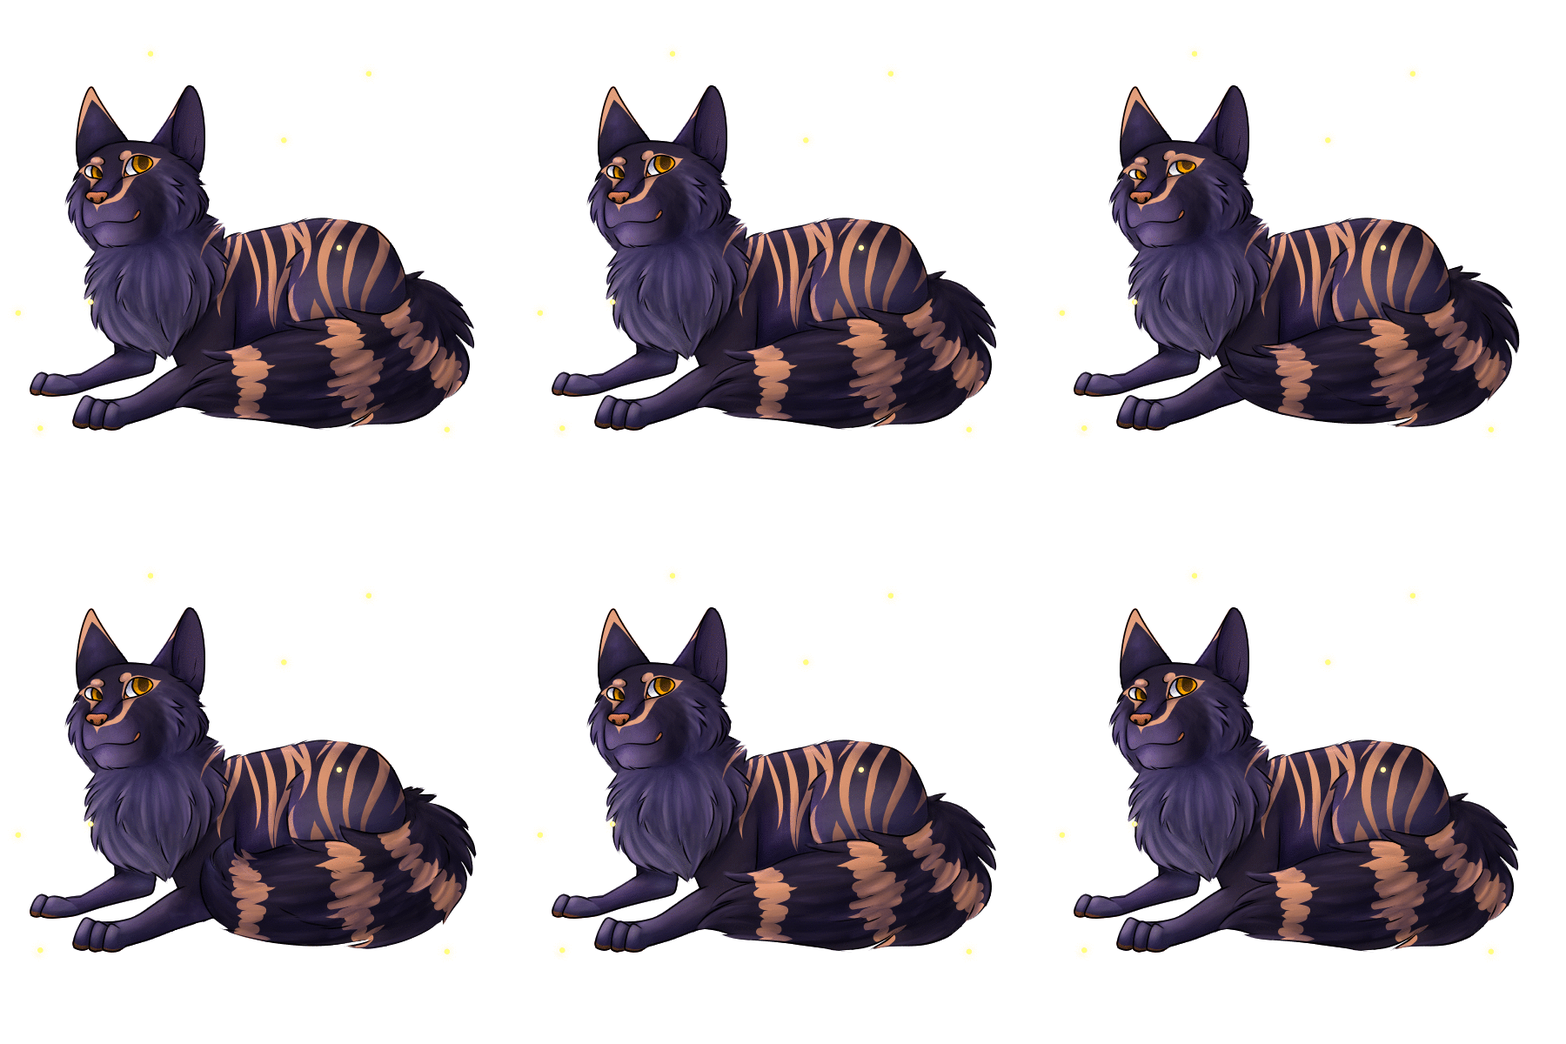
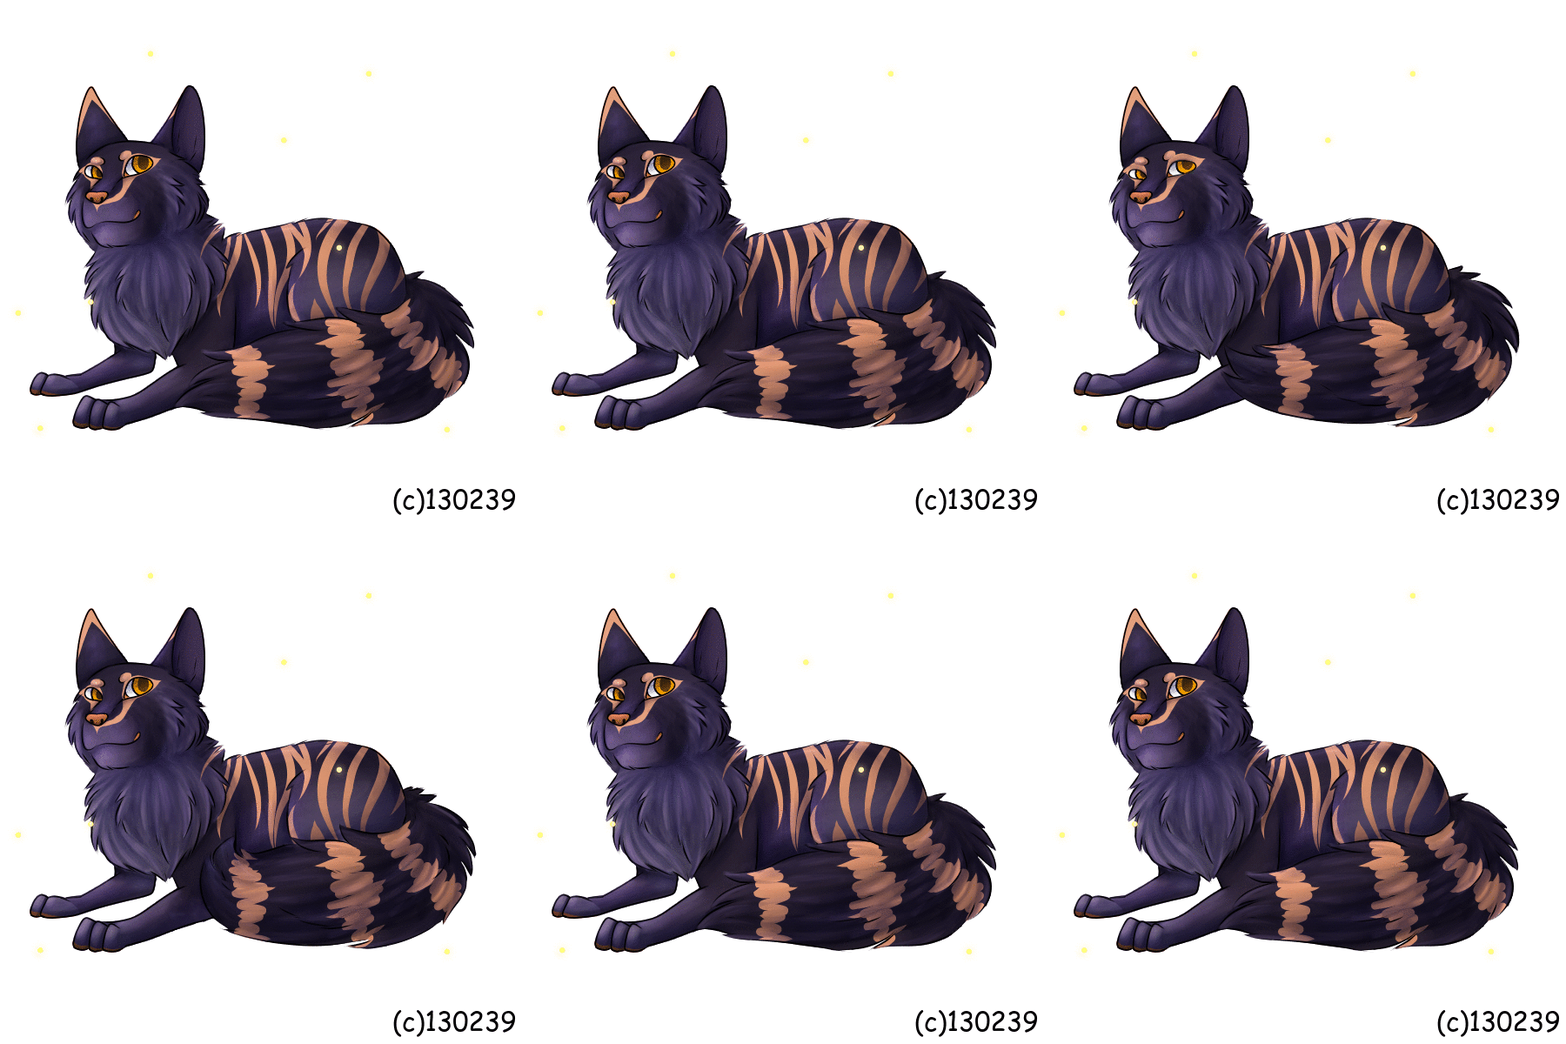
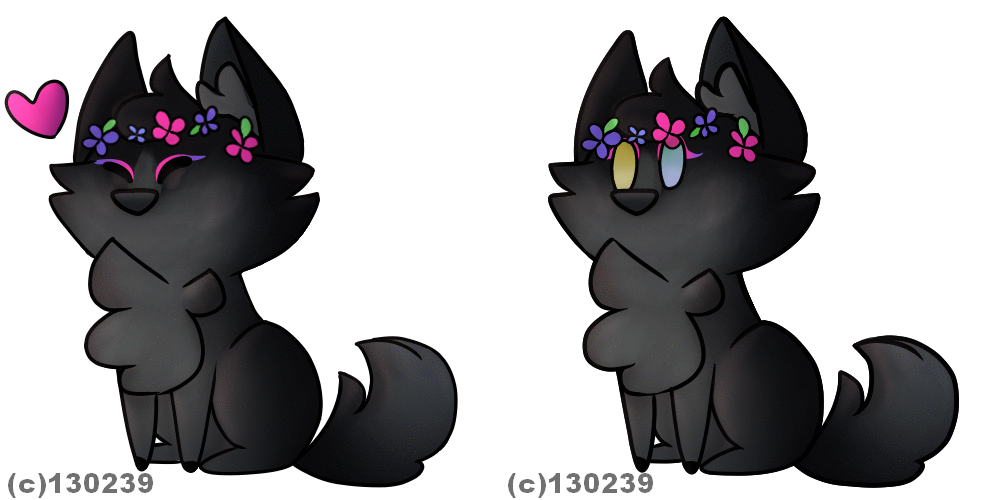
Here's Shiro's piece again, with and without gifgifs text.
As you can see, very tiny pixels move around in the one with credits.
(*This is no excuse not to put credits. If the quality bothers you that much, you will be able to write it on each and every frame, or at least a majority so it's able to be seen*)
That's all I have. ^^
This honestly took me several hours as I tried to make it as clear as possible.
If you have any questions, please ask! I'll be happy to answer. :)


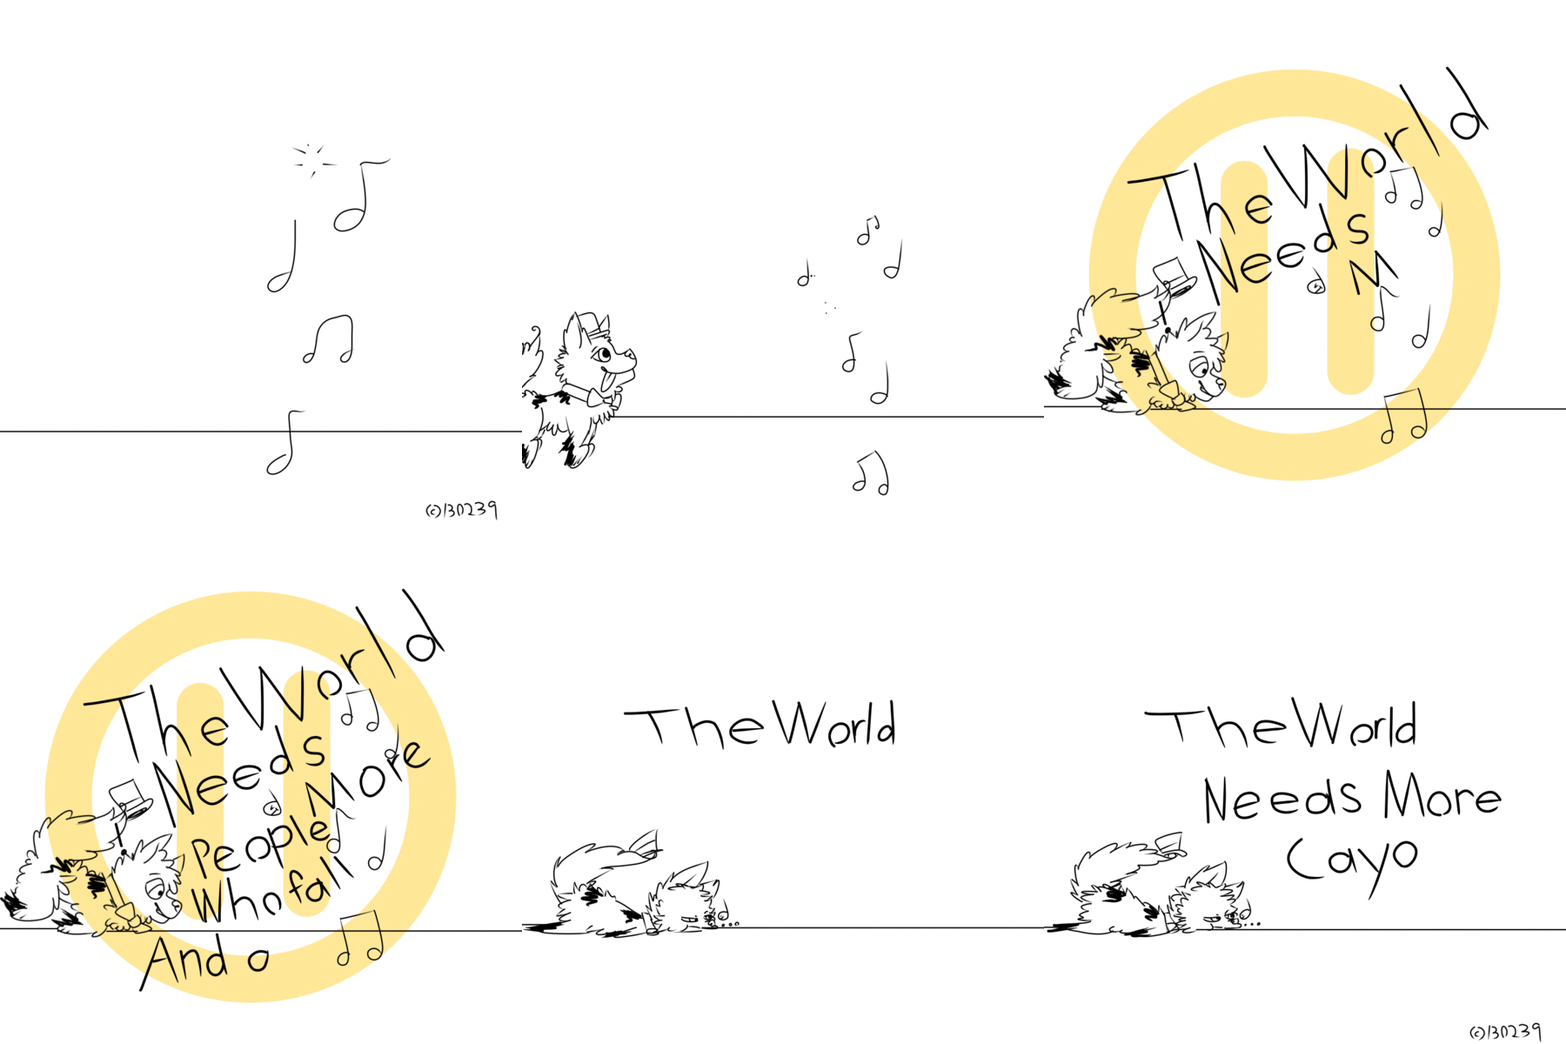 This entire thing is animated, and the focus was what's being told/going on in it. There is never a still moment.