| |

Darkseeker
|
Welcome. I made a forum asking for cosplay ideas/help, then decided to do a tutorial and made a poll asking what design I should use Steampunk won, however this armor didn't turn out quite as,, geared? as most steampunk. Haha, anyways. Good luck and don't burn yourself. Questions or comments, I might make a seperate forum, or allow them here later. Just PM me for now ^^' |
|
|
| |

Darkseeker
|
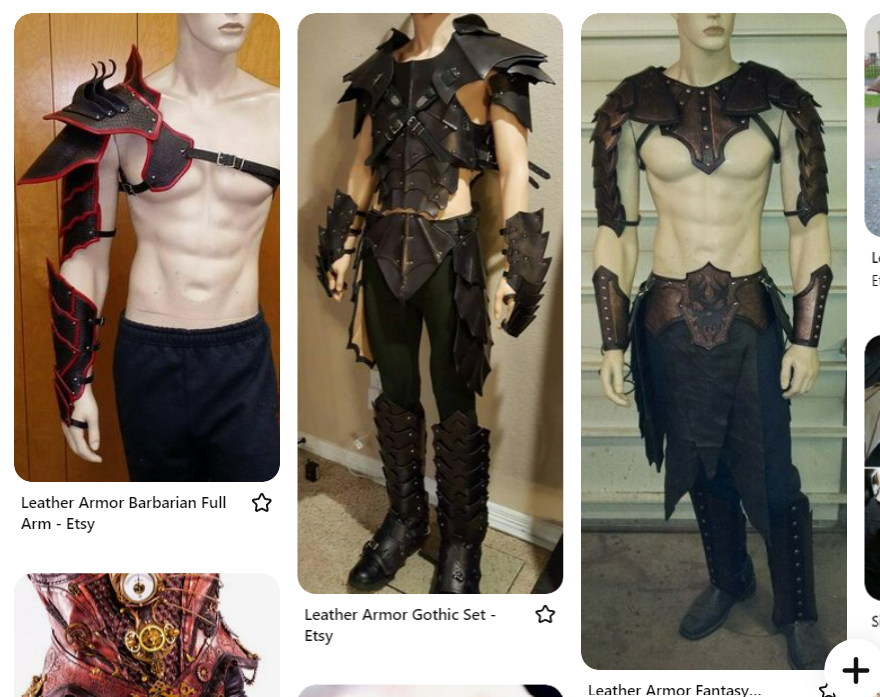
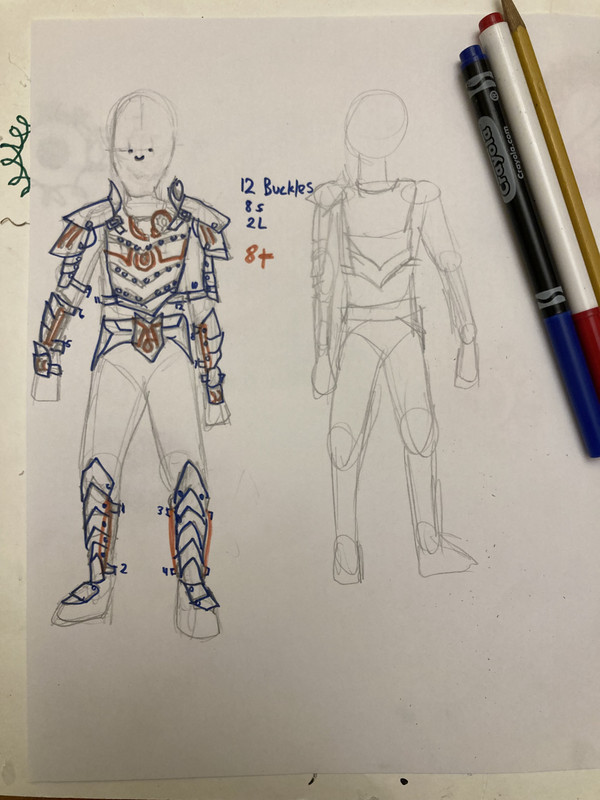
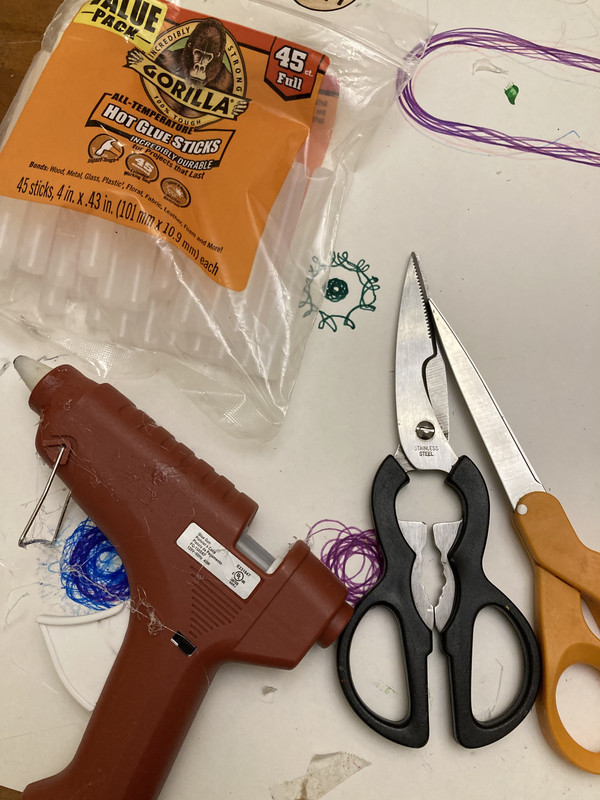
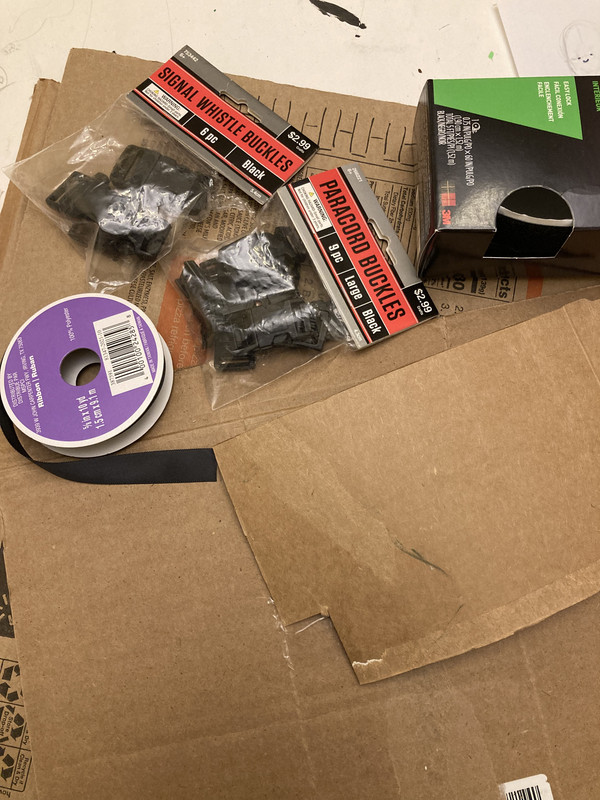
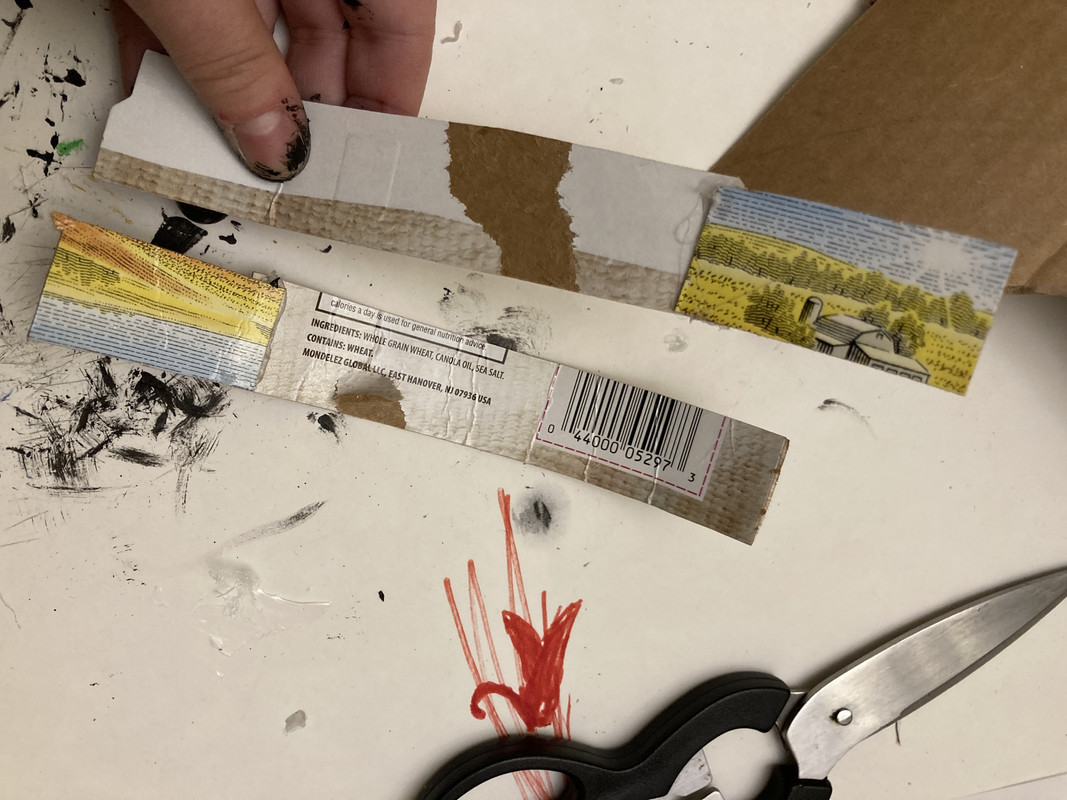
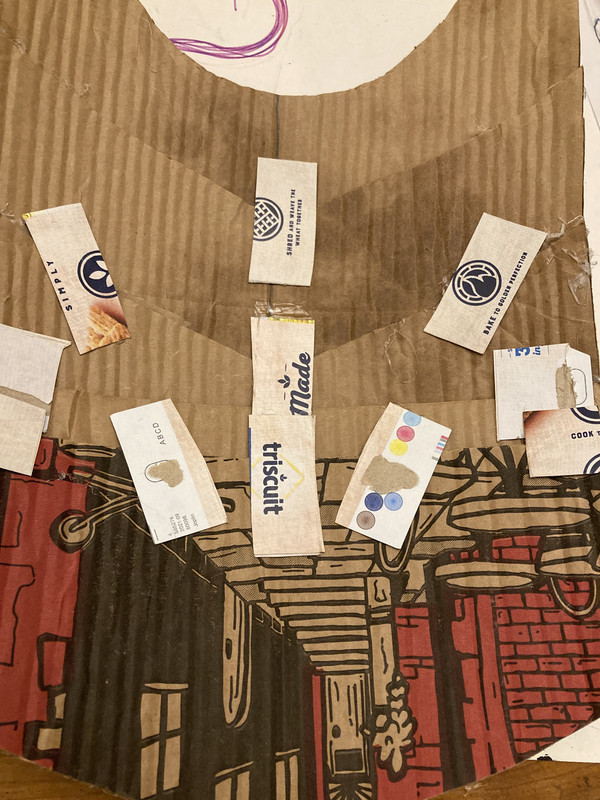
Supplies Step 1: Reference! As a Pinterest lurker, I created a Steampunk board to organize ideas and mixed and mashed seperate ones together. I then sketch out my design. I didn't end up decorating at all like this, but it was handy to keep track of separate parts and the amount of buckles needed. Step 2: Supplies! I have an absolute beast of a glue gun. Big upgrade from the ancient mini I used to use. Kitchen scissors are great on cardboard and paper scissors for ribbon and/or thin cardboard. I used buckles and ribbon for this, but stick on velcro is also very handy. I use pizza boxes for this entire project, plus thin cardboard from triscuit boxes. |
|
|
| |

Darkseeker
|
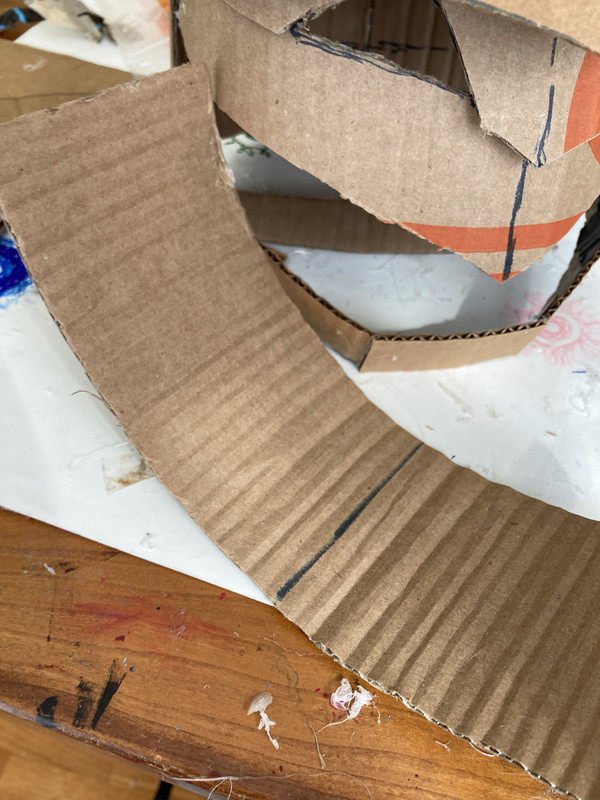
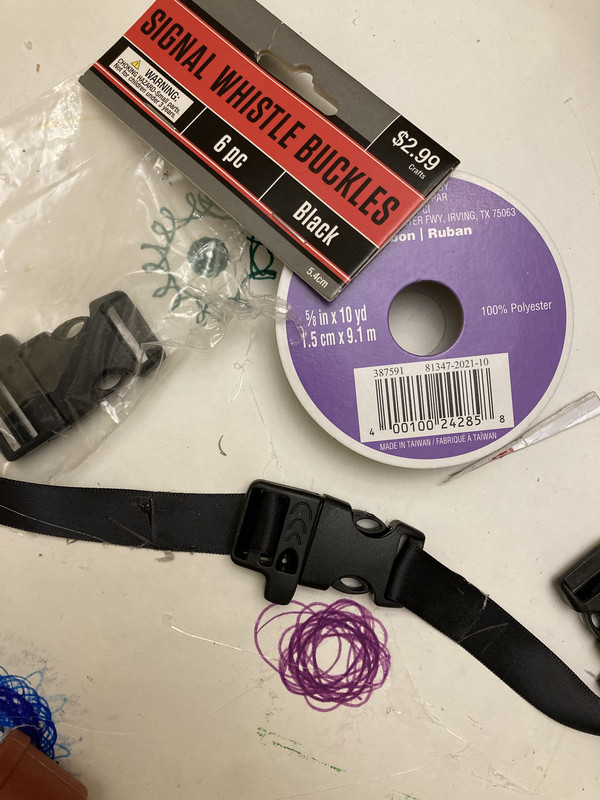
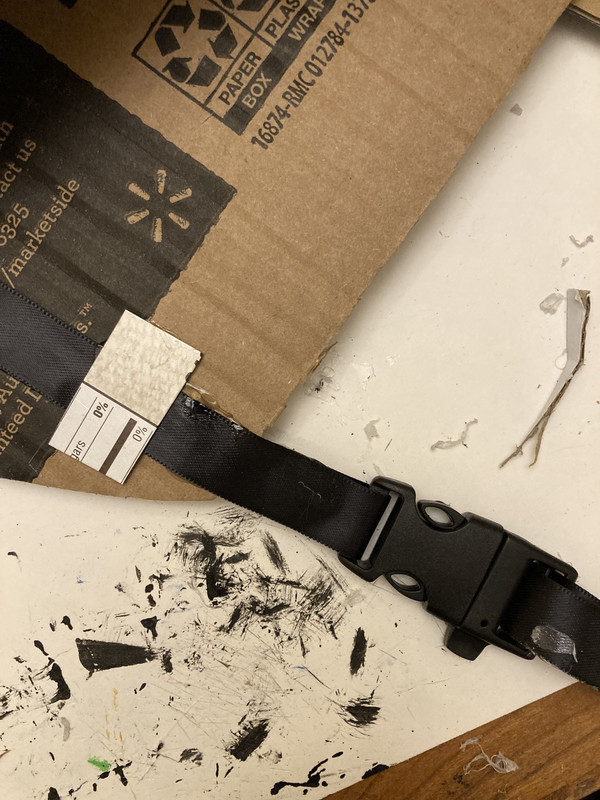
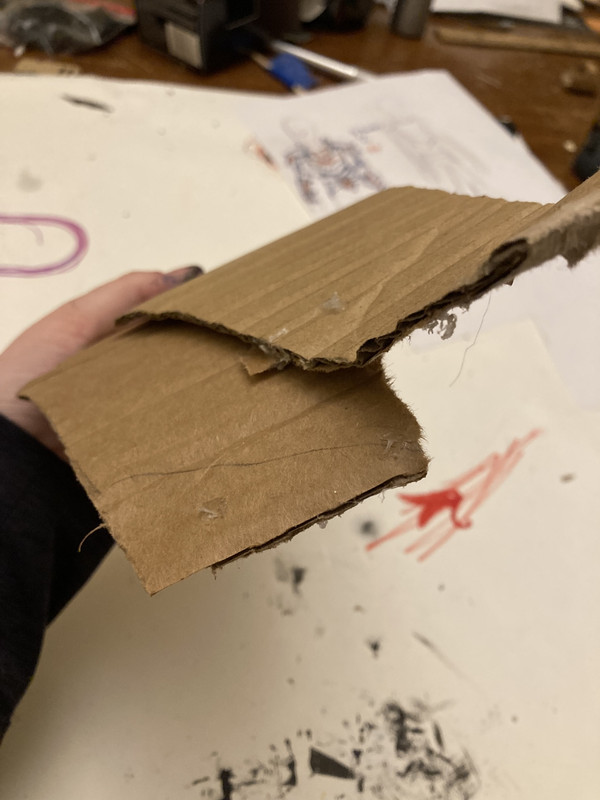
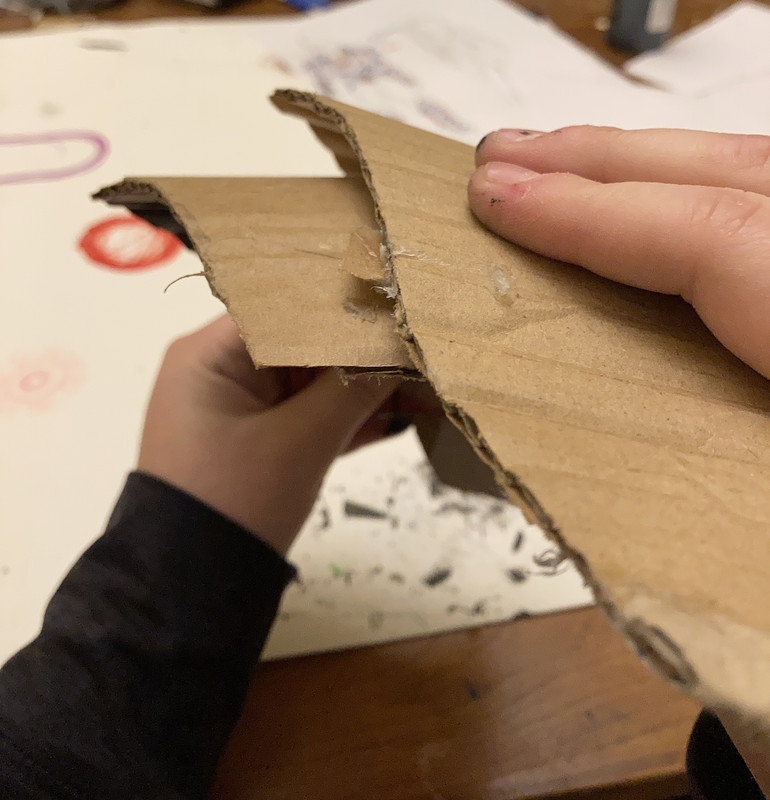
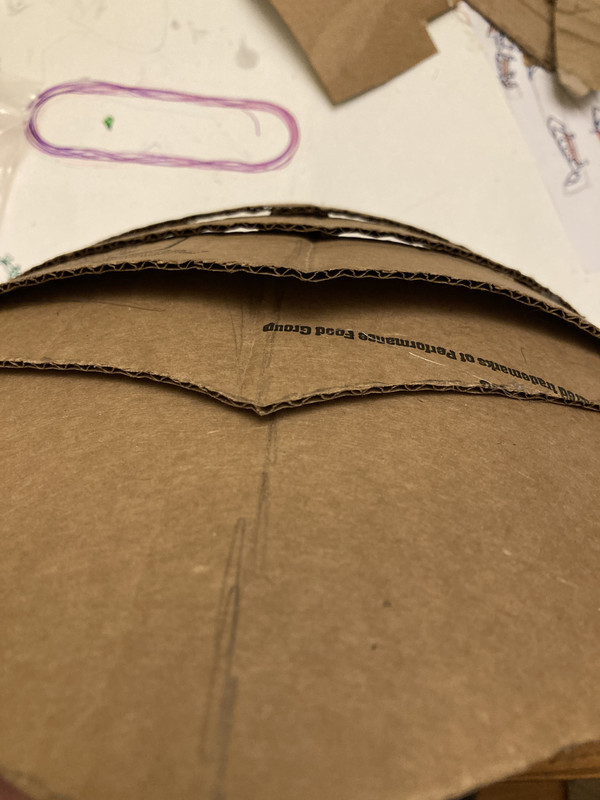
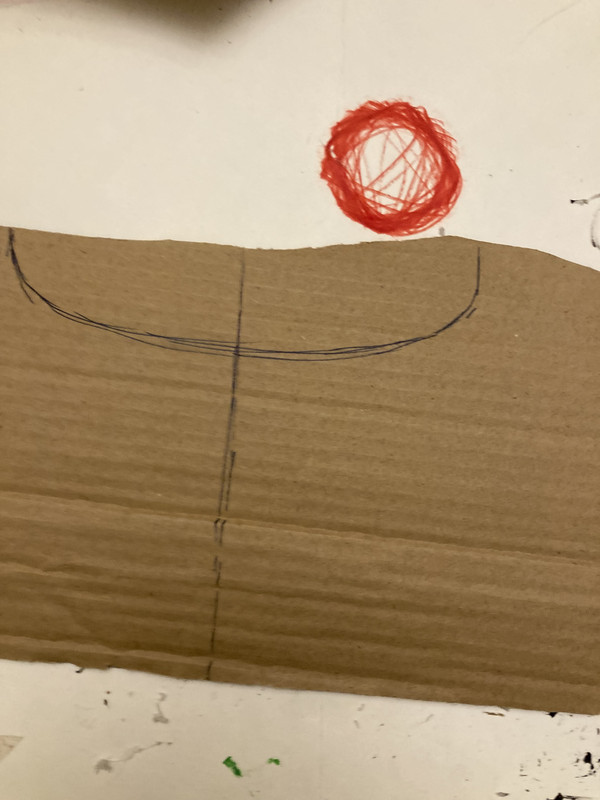
Important tips Pizza boxes and most boxes are corrugated. To maximize the flexibility you have to bend the cardboard and make these creases. It is NOT scoring. Do NOT do it before tracing out your pattern. Running the strip along a table is the fastest way, but if you are more thorough just use your hands to push the crease. Cardboard has these creases already, you are just amplifying them. Buckles are pretty easy to use. I leave the buckles clipped together and loop a pre-measured amount of ribbon through, doubling back and gluing down. Superglue does NOT work on ribbon like this. At least not well. One side of the ribbon you do not usually need very long. This you glue straight onto the side of your piece. You will want this on the inner side of guantlets and greaves and the front of chestplates. Secure extra with a strip of thin cardboard, set right on the inner edge of the piece. You then put the piece with the half attached buckle on your arm/leg/torso and pull the ribbon OVER the other side until it is a comfortable tauntness. Mark where it hits the piece or just eyeball it. LEAVE EXTRA. You can then unbuckle the buckle for ease, and glue the other ribbon onto the inside. Another aspect is overlapping cardboard. You can lie the cardboard flat, but to make the best look you can angle them so one sticks out. When gluing these, you put glue on the edge of the inner piece and then set the other piece on, curving both with the grain and tilting. The parts touch very narrowly only along the glued edge, sometimes only in the corners. |
|
|
| |

Darkseeker
|
|
| |

Darkseeker
|
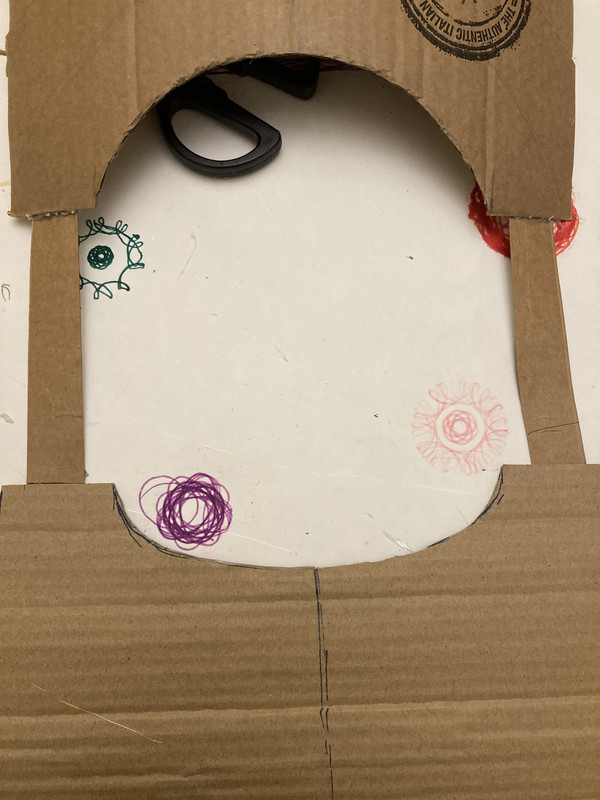
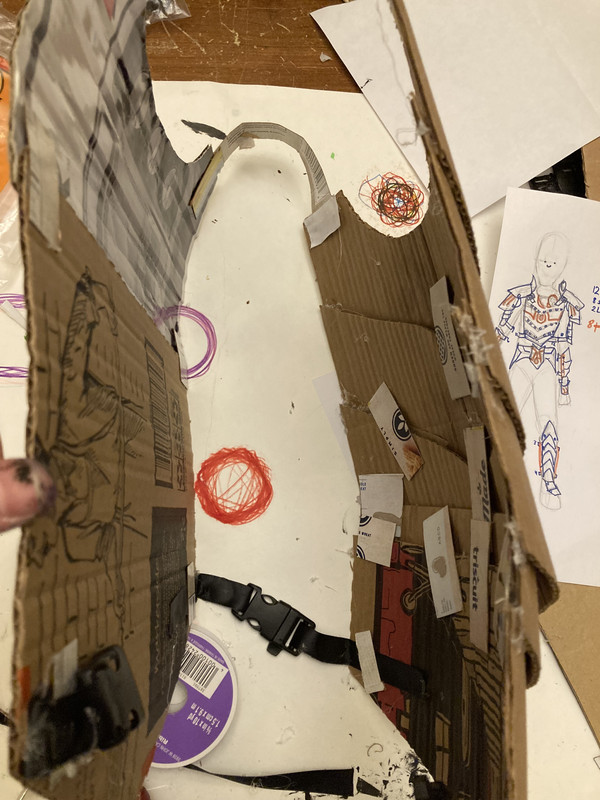
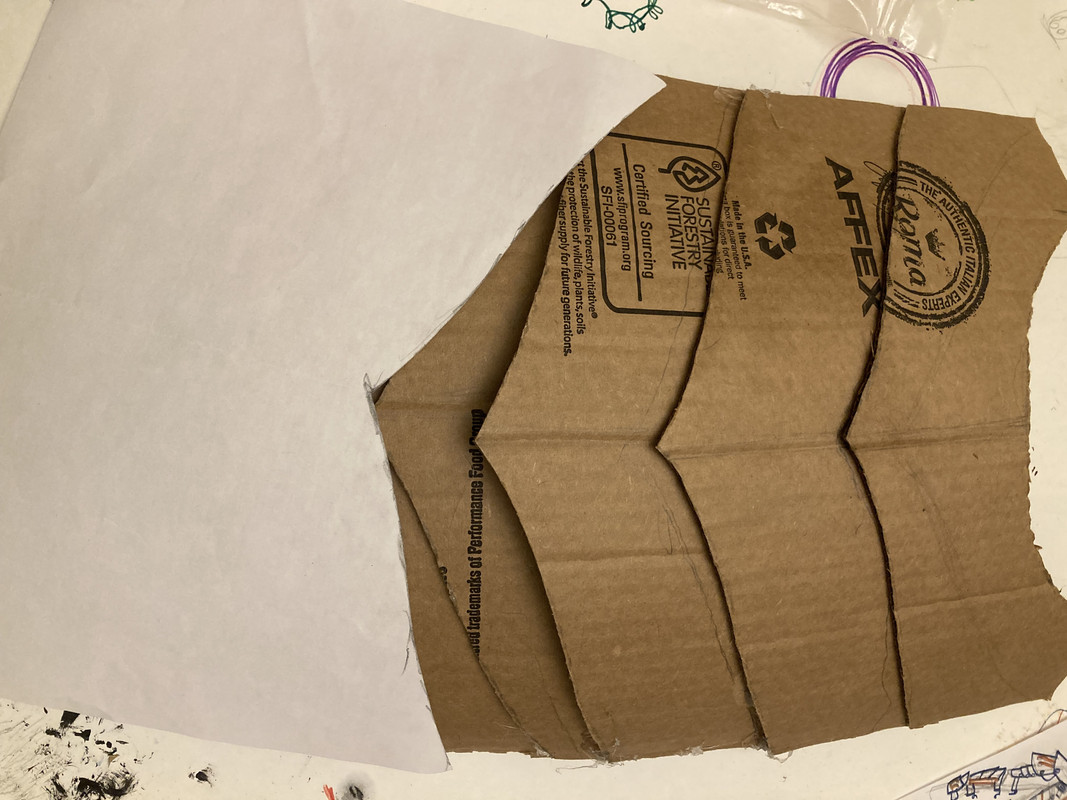
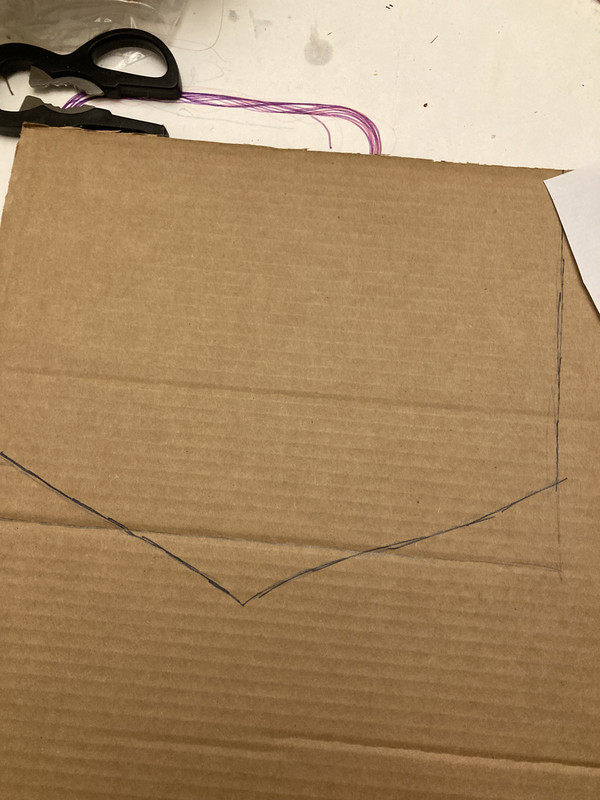
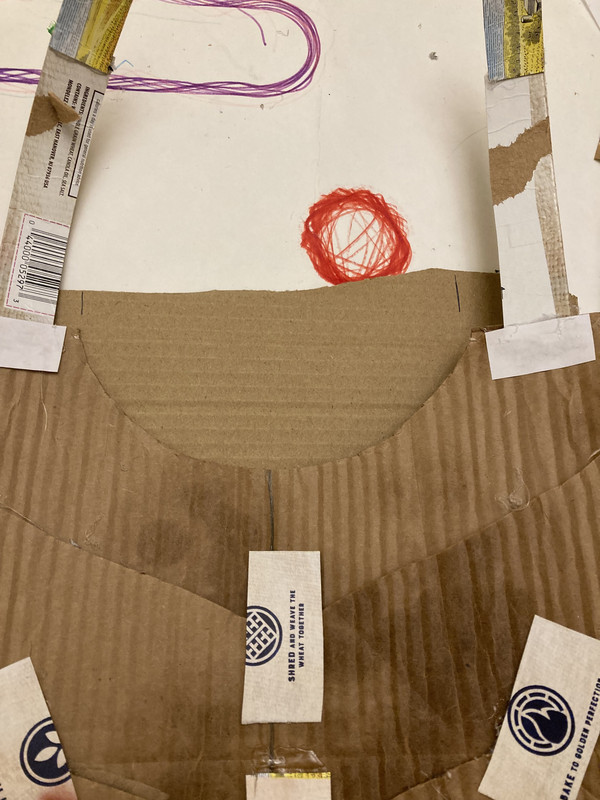
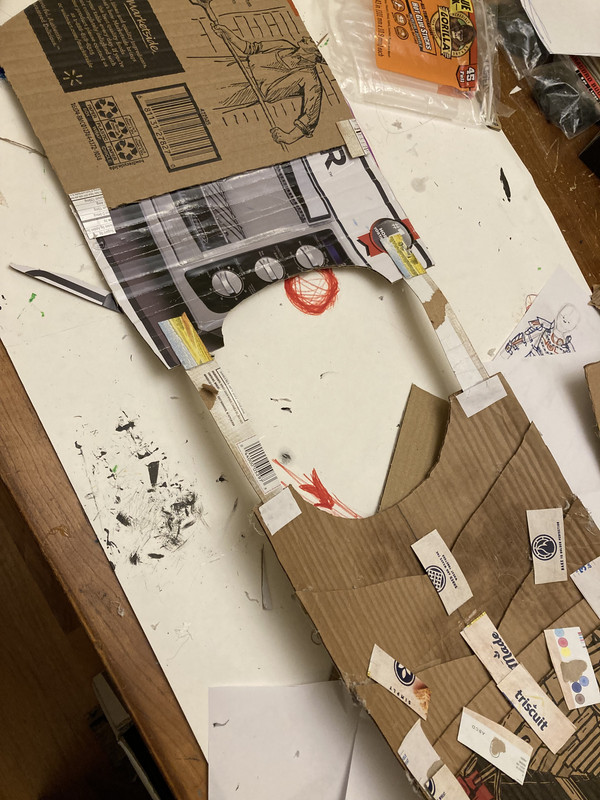
For the chestplate, I used the curving method I mentioned. I used a piece of paper as a template for the edges of the pieces. Inside is supported with thin cardboard. Upper back, notice that the curve bows outward. Lower back, notice that it curves inward. Once connected, these pieces will curve with the back and spine. I have found this style to be quite comfortable. I used thin cardboard for the shoulder straps. This is not very durable; I have experienced tears when any weight is put over these. Edited at March 10, 2023 08:05 PM by Volks |
|
|
| |

Darkseeker
|
|
| |

Darkseeker
|
|
| |

Darkseeker
|
|
| |

Darkseeker
|
|
| |

Darkseeker
|
Edited at March 10, 2023 07:01 PM by BJake
|
|  |
|


 -
- -
-