Chatbox
 Cypress Road
09:34:22 Cy, love
Mist. I had to get folders and organize my pack cause I could stand scrolling through 80 wolves. Currently only have 24 main wolves, 38 are set aside for a pack who always comes and buys all my unwanted females and only have 1 wolf who doesn't have a place as I want to breed him for his coat but want an axanthic pup so he's just an outcast since he isn't axanthics
 Continental Wolves
09:33:32 Emmet , Spoopy Wolf
I just got another DH male from wolf party o,0
 Eternity
09:32:14 ET
Mirko
Thank you! :D It was a lotta fun
 Mirko
09:31:47 Mir
Eternity
Oo, I love how you did the dragon!
 Eternity
09:31:14 ET
Despite not starting my classes again until next week, I'm on a deadline grind for later today </3
-Click-
 Frozen Mist
09:30:18 Frozen - Mist
My den is finally more organized. >.>
 Mirko
09:29:02 Mir
Emmet
Oo, a pretty DH

Thunder
I already want to drop out lmao, profs already assigning so much homework T-T
 Destinations End
09:28:02 Toliska, Desti, Coy
Back. Sorry about that
 Thunderpaws
09:26:39 
How's everyones school been going? (If you have school)
 Continental Wolves
09:26:27 Emmet , Spoopy Wolf
-WP Click-
3rd pull and I got this dude
 Ámor
09:24:56 Lil' Pumpkin
@Emmet
I see my name is Amour now
 Continental Wolves
09:23:57 Emmet , Spoopy Wolf
Amor
Pretty good, I'm about to gamble on wolf party
 Ámor
09:21:31 Lil' Pumpkin
@Emmet
How are you?
 Cypress Road
09:21:03 Cy, love
Just bred all my female axanthics to my male axanthics. Had to double a few males up but got the bred. Fingers crossed I get a couple axanthic pups from this batch of pups
 Continental Wolves
09:19:42 Emmet , Spoopy Wolf
Amour
Oh yeah, I forgot I had those
 Ámor
09:19:15 Lil' Pumpkin
@Emmet
Thank you!
 Frozen Mist
09:19:00 Frozen - Mist
Existence,
All your pups are cute. 0-0
 Ámor
09:18:36 Lil' Pumpkin
@Emmet
Im also your toes victim
 Continental Wolves
09:18:12 Emmet , Spoopy Wolf
Amor
Hmm now would be fine
 Ámor
09:17:04 Lil' Pumpkin
@Emmet
Do you want the shipment today or next week? I just worked a terrible shift and i dont want them anymore

Refresh

You must be a registered member for more
than 1 day before you can use our chatbox.
Quests
Alliance Battles
Challenges

Hourly Damage Variances
Mojave Green Rattler : +3
Crocodile : -2
Green Python : -1
    Spring   Night   Fog  Moon: 


Forums

→ Wolf Play is a fun game! Sign Up Now!

My Subscriptions
My Bookmarks
My Topics
Latest Topics
Following
Forums > Socialize
   1 

Raz Cardboard Tutorial WIP DNPJuly 25, 2022 05:47 PM


Volks

Darkseeker
 
Posts: 1716
#2791022
Give Award
Welcome. I made a forum asking for cosplay ideas/help, then decided to do a tutorial and made a poll asking what design I should use

Steampunk won, however this armor didn't turn out quite as,, geared? as most steampunk. Haha, anyways.

Good luck and don't burn yourself.

Questions or comments, I might make a seperate forum, or allow them here later. Just PM me for now ^^'


Edited at July 25, 2022 05:51 PM by Razdel
Raz Cardboard Tutorial WIP DNPJuly 25, 2022 05:47 PM


Volks

Darkseeker
 
Posts: 1716
#2791023
Give Award
Supplies

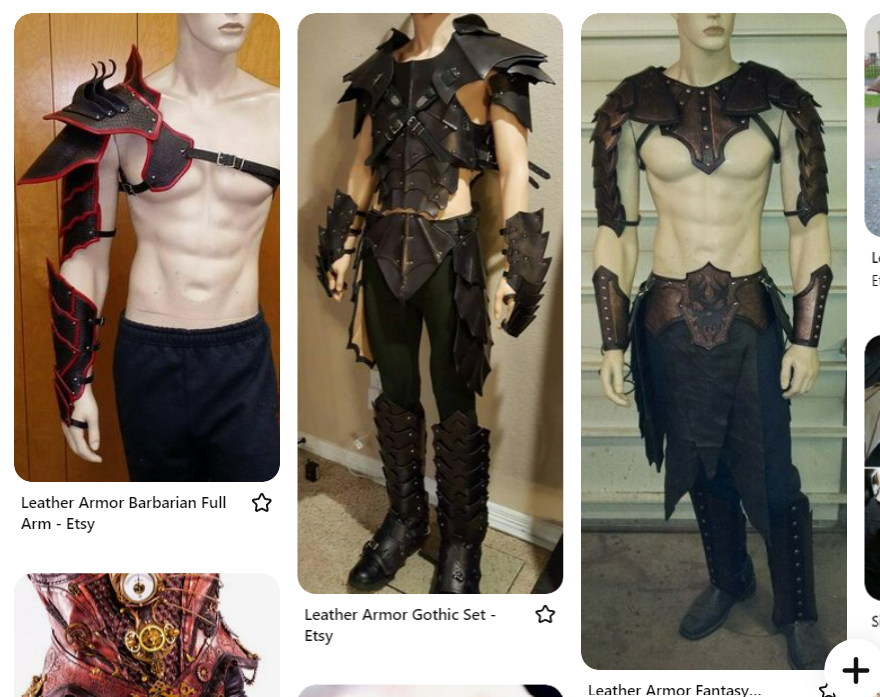
Step 1: Reference!

Screenshot-2022-07-25-185347.png
As a Pinterest lurker, I created a Steampunk board to organize ideas and mixed and mashed seperate ones together.

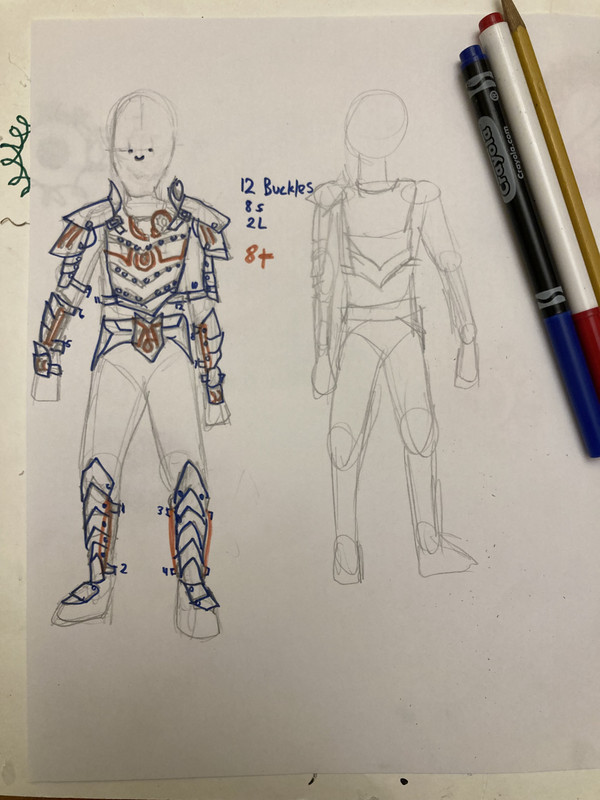
IMG-2146.jpg
I then sketch out my design. I didn't end up decorating at all like this, but it was handy to keep track of separate parts and the amount of buckles needed.

Step 2: Supplies!

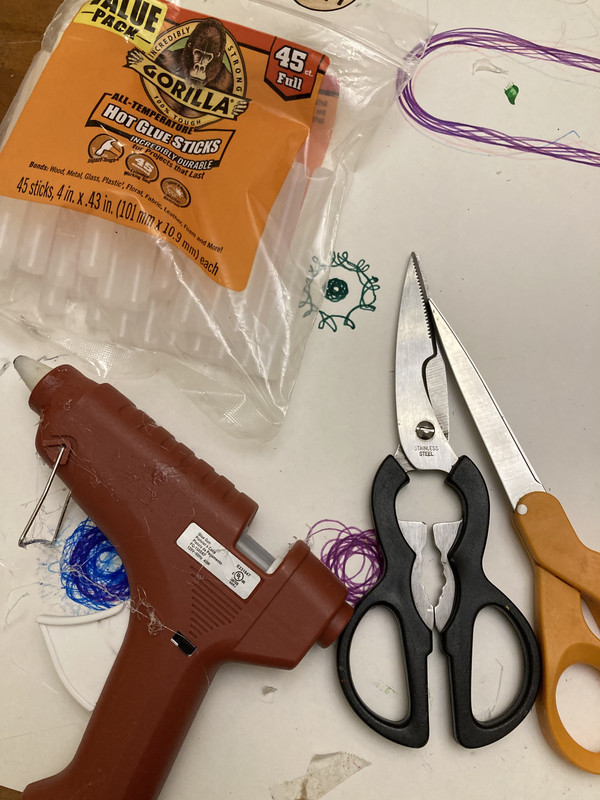
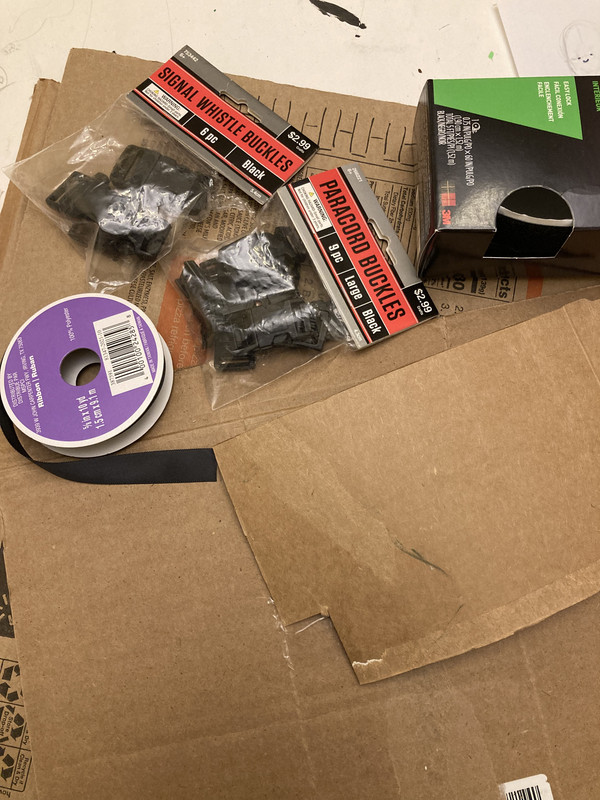
IMG-2147.jpgIMG-2148.jpg
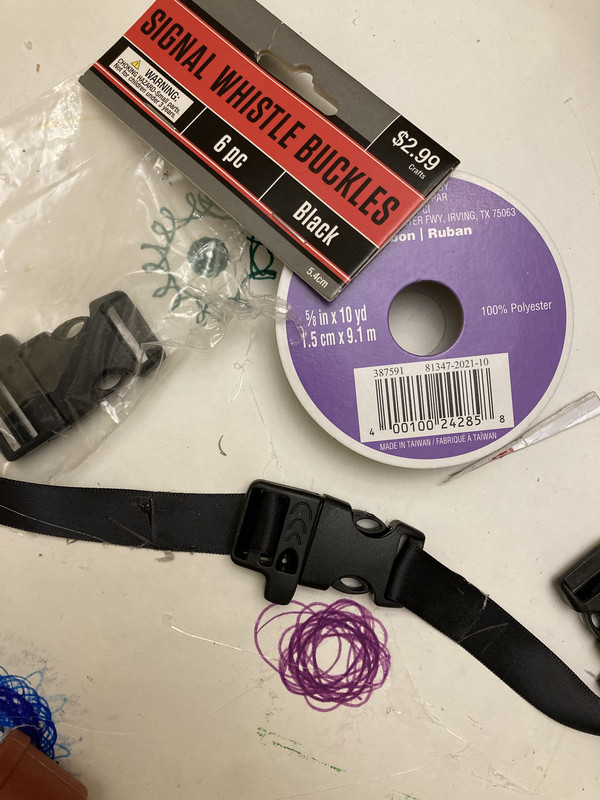
I have an absolute beast of a glue gun. Big upgrade from the ancient mini I used to use. Kitchen scissors are great on cardboard and paper scissors for ribbon and/or thin cardboard. I used buckles and ribbon for this, but stick on velcro is also very handy.

IMG-2163.jpg
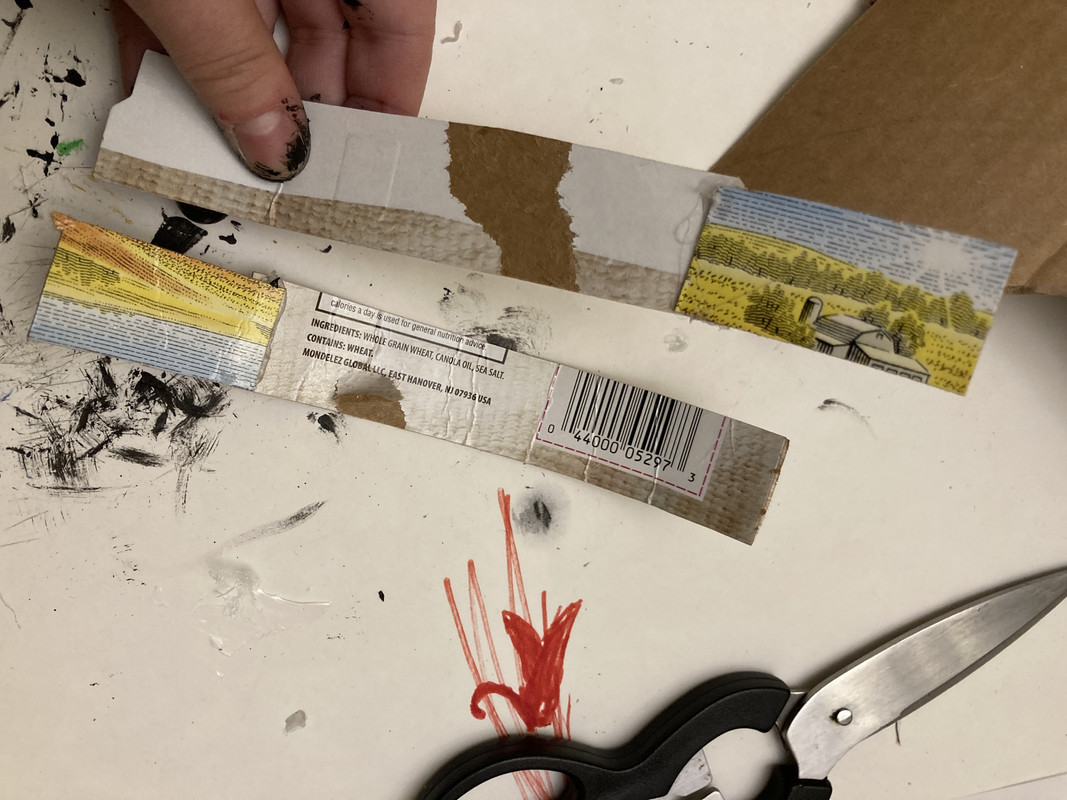
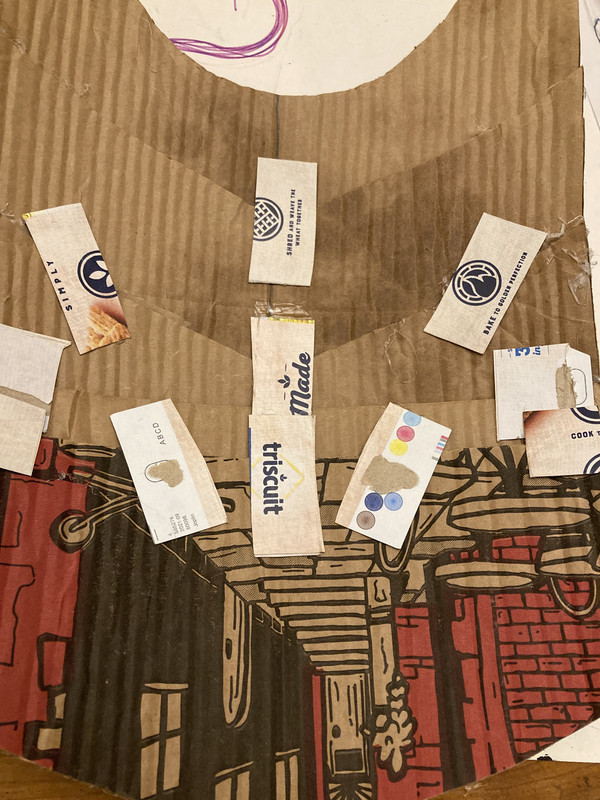
I use pizza boxes for this entire project, plus thin cardboard from triscuit boxes.

Edited at July 25, 2022 06:03 PM by Razdel
Raz Cardboard Tutorial WIP DNPJuly 25, 2022 05:47 PM


Volks

Darkseeker
 
Posts: 1716
#2791024
Give Award
Important tips

IMG-2350.jpg
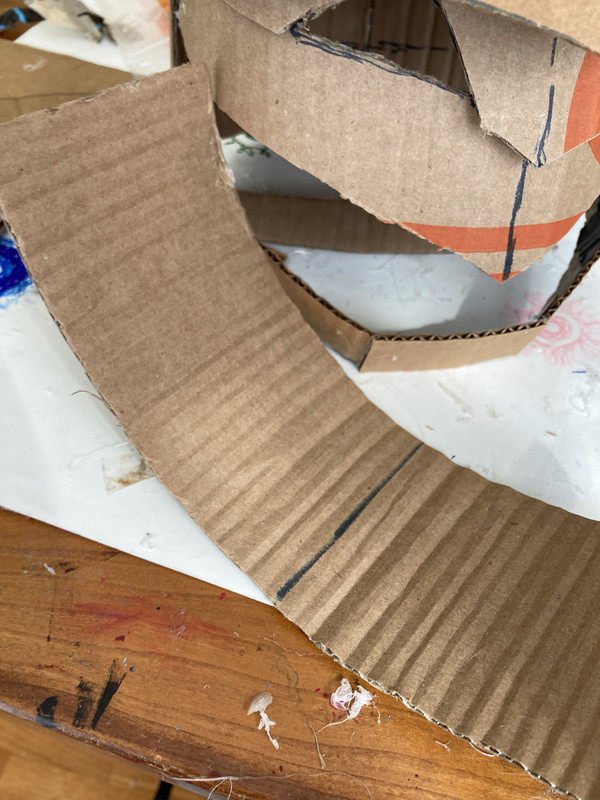
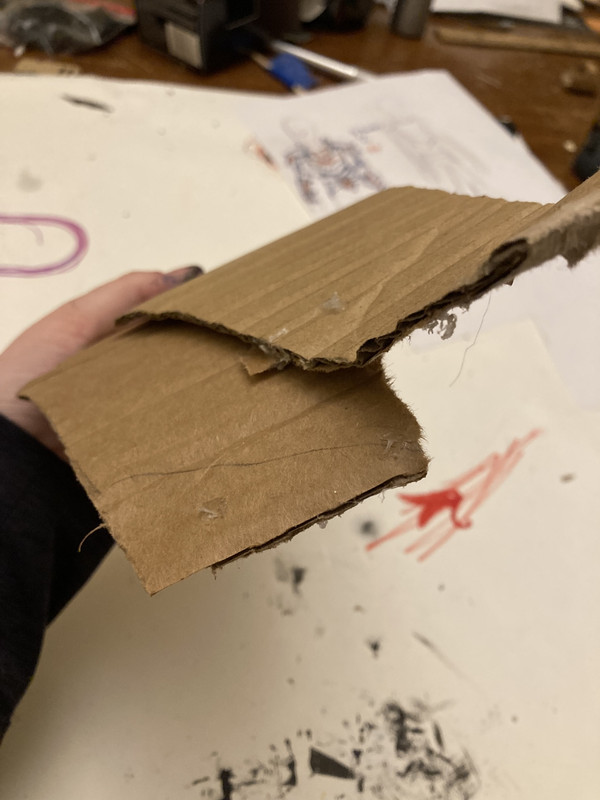
Pizza boxes and most boxes are corrugated. To maximize the flexibility you have to bend the cardboard and make these creases. It is NOT scoring. Do NOT do it before tracing out your pattern. Running the strip along a table is the fastest way, but if you are more thorough just use your hands to push the crease. Cardboard has these creases already, you are just amplifying them.

IMG-2170.jpg
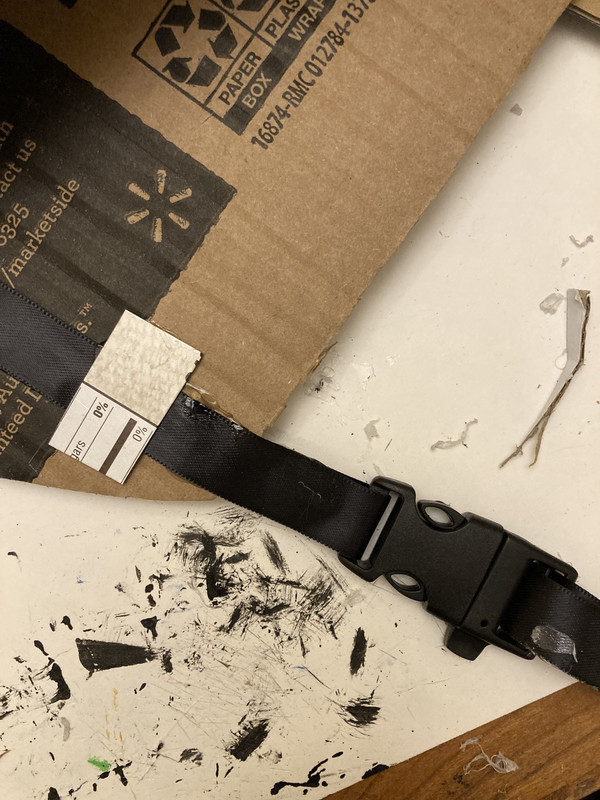
Buckles are pretty easy to use. I leave the buckles clipped together and loop a pre-measured amount of ribbon through, doubling back and gluing down. Superglue does NOT work on ribbon like this. At least not well.

One side of the ribbon you do not usually need very long. This you glue straight onto the side of your piece. You will want this on the inner side of guantlets and greaves and the front of chestplates. Secure extra with a strip of thin cardboard, set right on the inner edge of the piece.

IMG-2171.jpg
You then put the piece with the half attached buckle on your arm/leg/torso and pull the ribbon OVER the other side until it is a comfortable tauntness. Mark where it hits the piece or just eyeball it. LEAVE EXTRA.

IMG-2172.jpg
You can then unbuckle the buckle for ease, and glue the other ribbon onto the inside.

IMG-2150.jpg
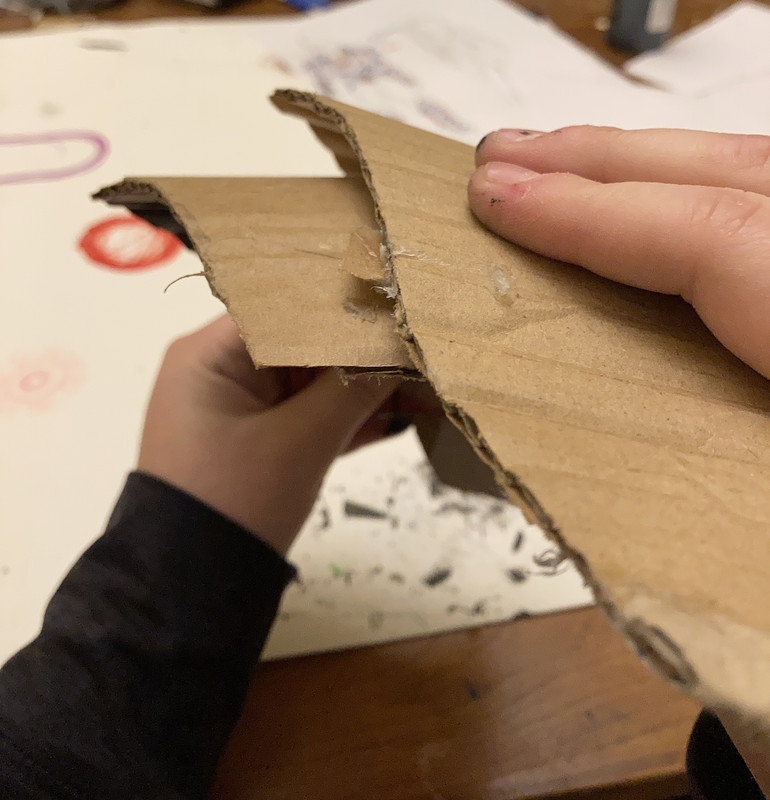
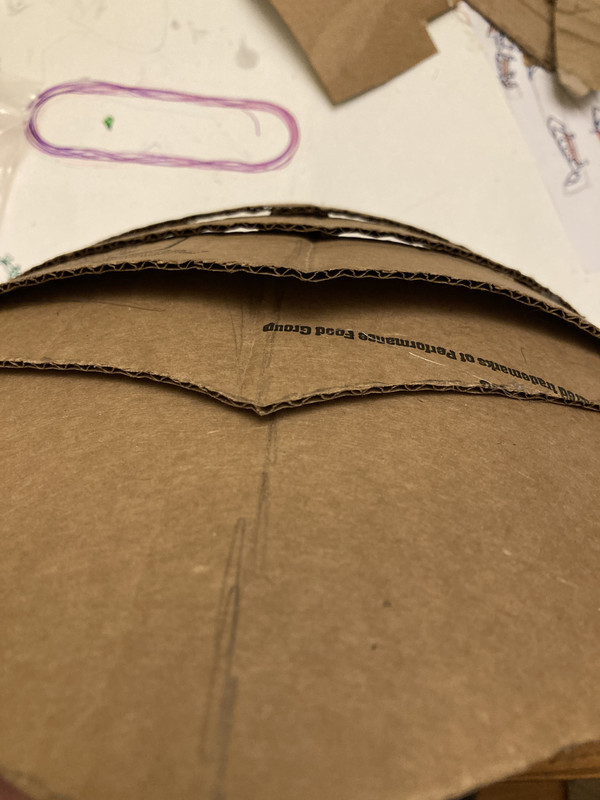
Another aspect is overlapping cardboard. You can lie the cardboard flat, but to make the best look you can angle them so one sticks out.
IMG-2160.jpg
When gluing these, you put glue on the edge of the inner piece and then set the other piece on, curving both with the grain and tilting. The parts touch very narrowly only along the glued edge, sometimes only in the corners.

Edited at July 25, 2022 06:22 PM by Razdel
Raz Cardboard Tutorial WIP DNPJuly 25, 2022 05:47 PM


Volks

Darkseeker
 
Posts: 1716
#2791025
Give Award
3 Buckles + fastening
Raz Cardboard Tutorial WIP DNPJuly 25, 2022 05:48 PM


Volks

Darkseeker
 
Posts: 1716
#2791026
Give Award
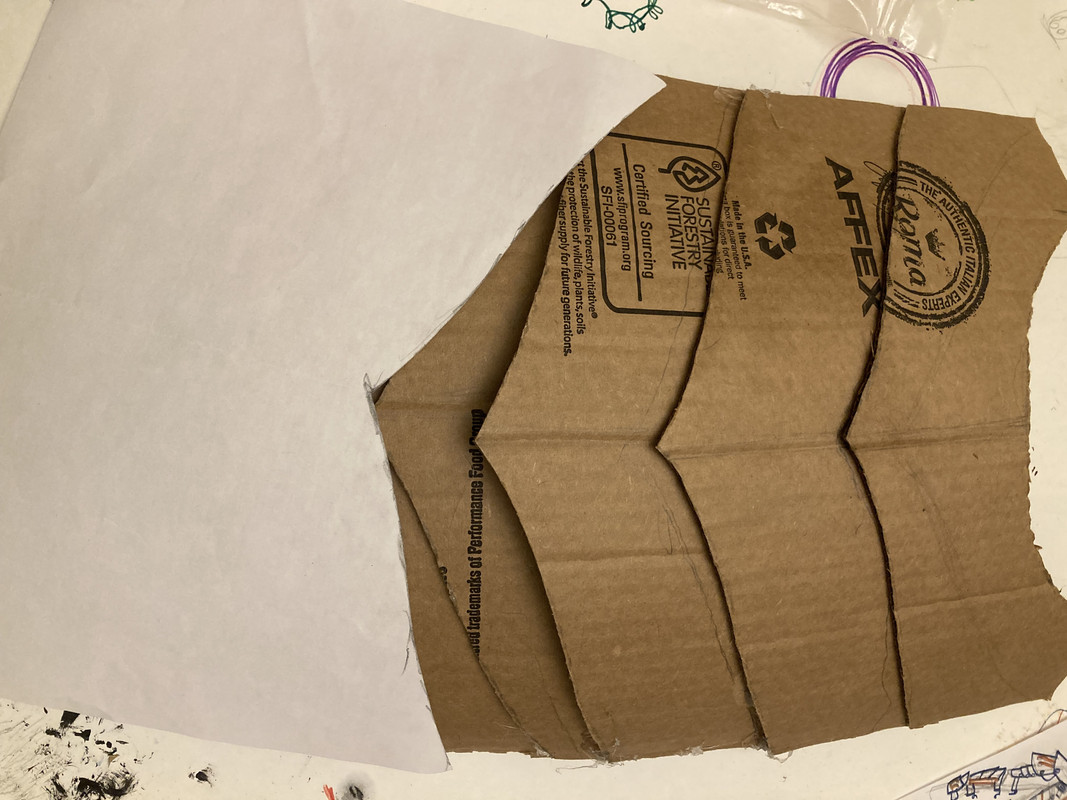
IMG-2149.jpg
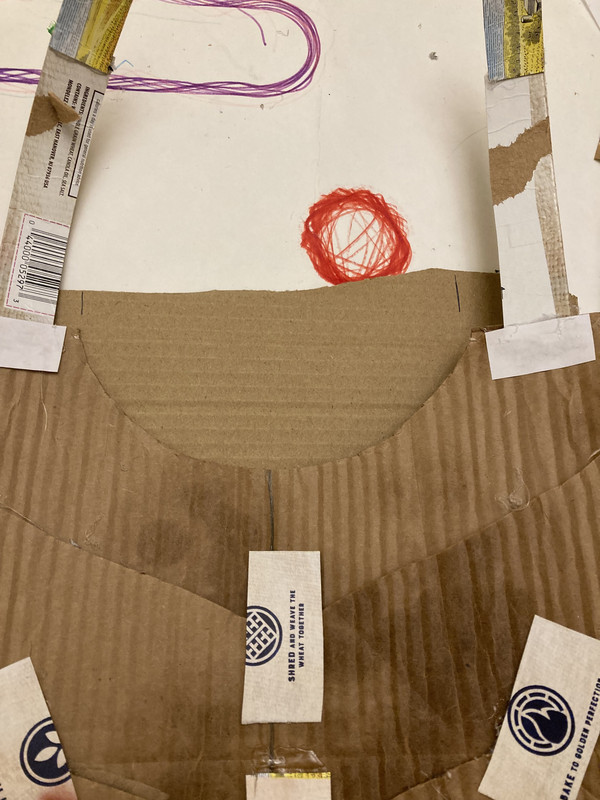
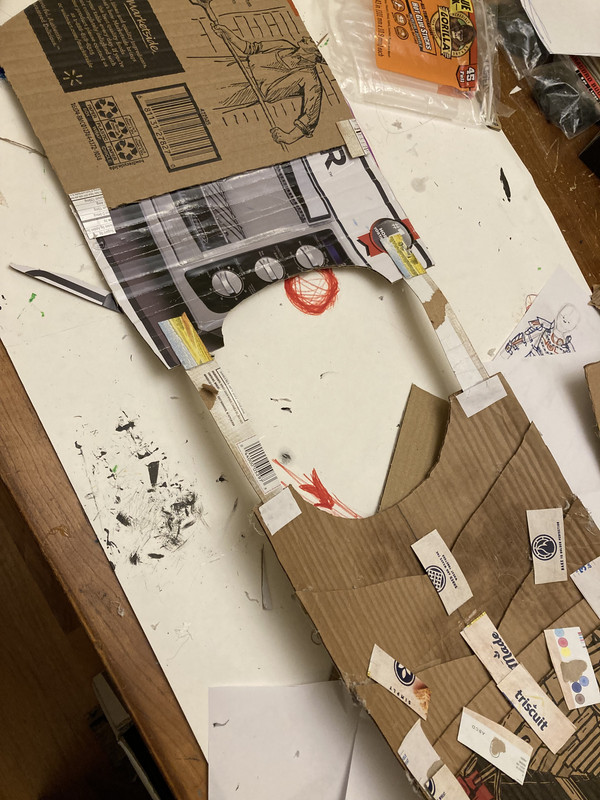
For the chestplate, I used the curving method I mentioned. I used a piece of paper as a template for the edges of the pieces.
IMG-2161.jpg
IMG-2162.jpg
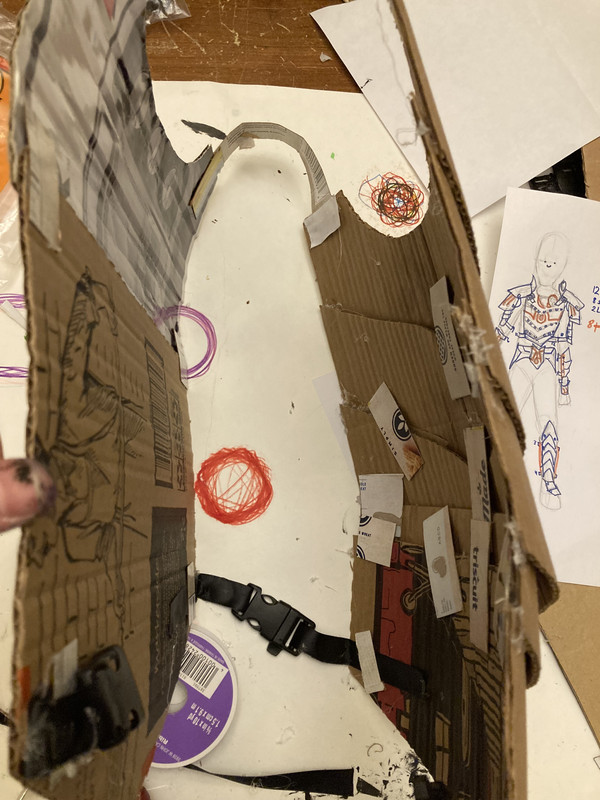
Inside is supported with thin cardboard.
IMG-2166.jpg
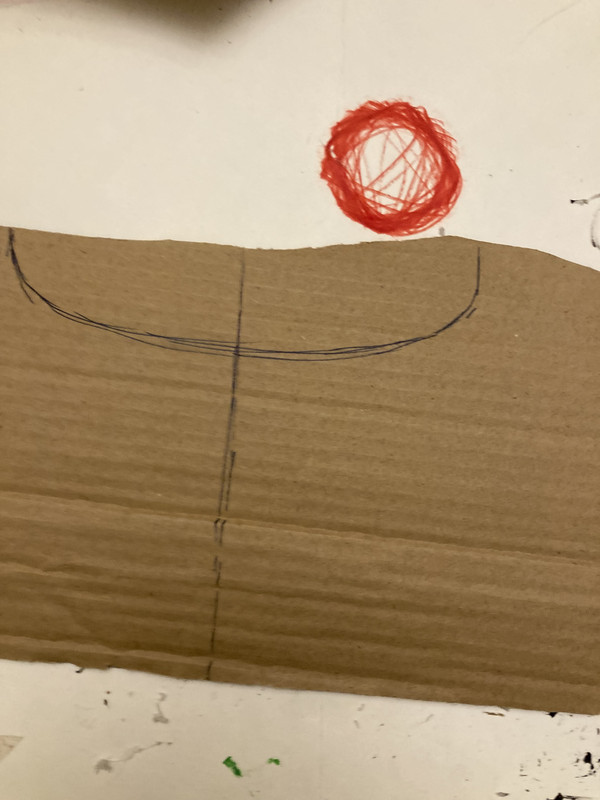
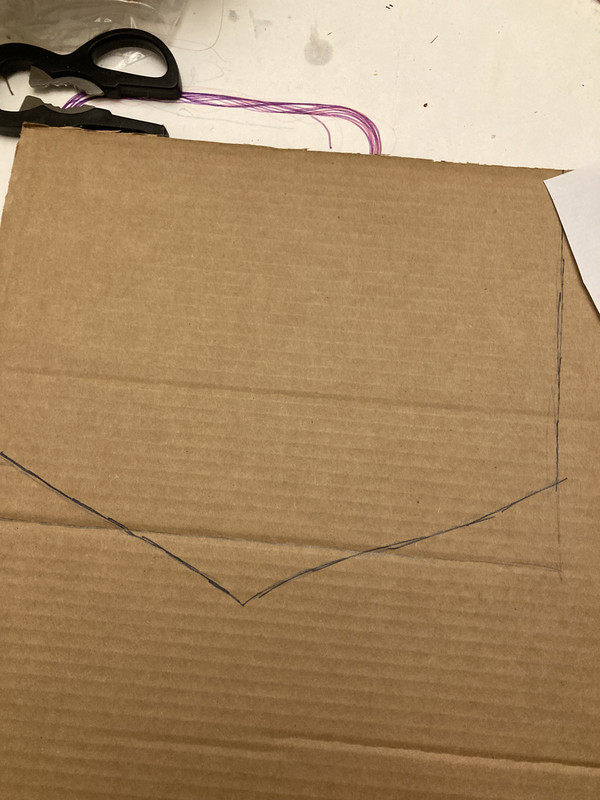
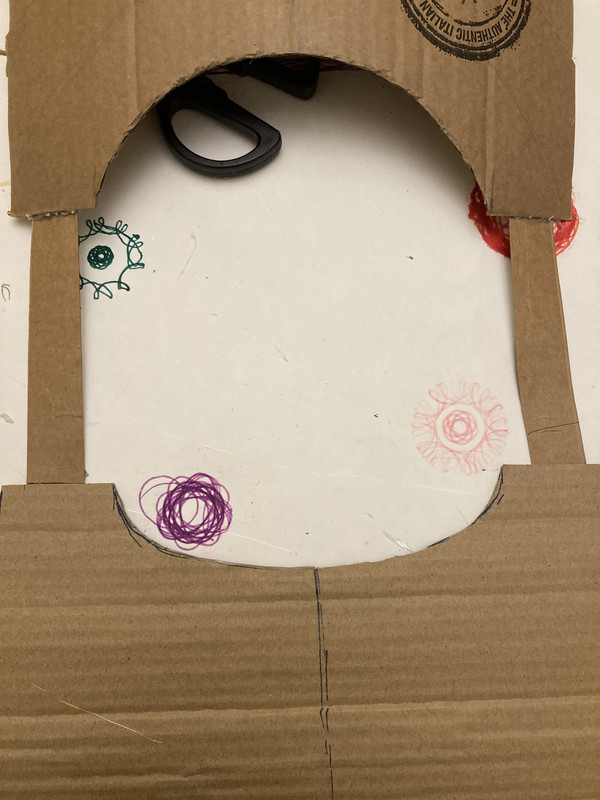
Upper back, notice that the curve bows outward.
IMG-2168.jpg
Lower back, notice that it curves inward. Once connected, these pieces will curve with the back and spine. I have found this style to be quite comfortable.

IMG-2165.jpg-IMG-2169.jpg-IMG-2167.jpg
I used thin cardboard for the shoulder straps. This is not very durable; I have experienced tears when any weight is put over these.

Edited at March 10, 2023 08:05 PM by Volks
Raz Cardboard Tutorial WIP DNPJuly 25, 2022 05:48 PM


Volks

Darkseeker
 
Posts: 1716
#2791027
Give Award
5 Arms
Raz Cardboard Tutorial WIP DNPJuly 25, 2022 05:48 PM


Volks

Darkseeker
 
Posts: 1716
#2791028
Give Award
6 Legs
Raz Cardboard Tutorial WIP DNPJuly 25, 2022 05:48 PM


Volks

Darkseeker
 
Posts: 1716
#2791029
Give Award
7 Helmet
Raz Cardboard Tutorial WIP DNPJuly 25, 2022 05:48 PM


Volks

Darkseeker
 
Posts: 1716
#2791030
Give Award
8 Final
Raz Cardboard Tutorial WIP DNPMarch 10, 2023 06:55 PM


BJake

Darkseeker
 
Posts: 1152
#2867501
Give Award
[Oop sorry :'}]

Edited at March 10, 2023 07:01 PM by BJake

Forums > Socialize
   1 

Refresh


Copyright ©2013-2025 Go Go Gatsby Designs, LLC    All Rights Reserved
Terms Of Use  |   Privacy Policy   |   DMCA   |   Contact Us